Ready-to-Use UI v.1.0 -> v.2.0
Introduction
Version 2.0 of the Document Scanner SDK's RTU UI further streamlines the integration of our scanning functionalities into your mobile app and provides a tried and true user experience. It also adds several new features – most notably dedicated screens for scanning, reviewing, and editing documents. Thanks to in-depth configuration options, you can tailor the scanning flow to your use case.
If you are currently using RTU UI v.1.0 in your app, this guide will help you migrate to v.2.0.
Key concept differences
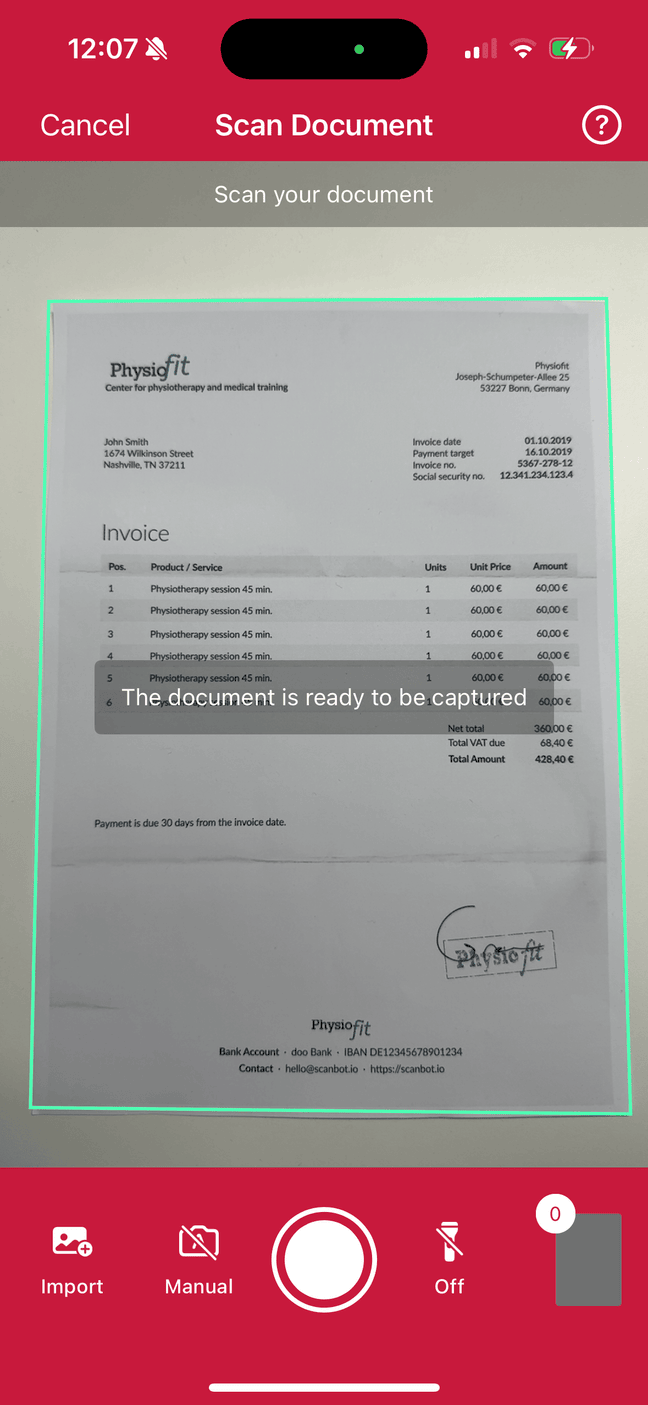
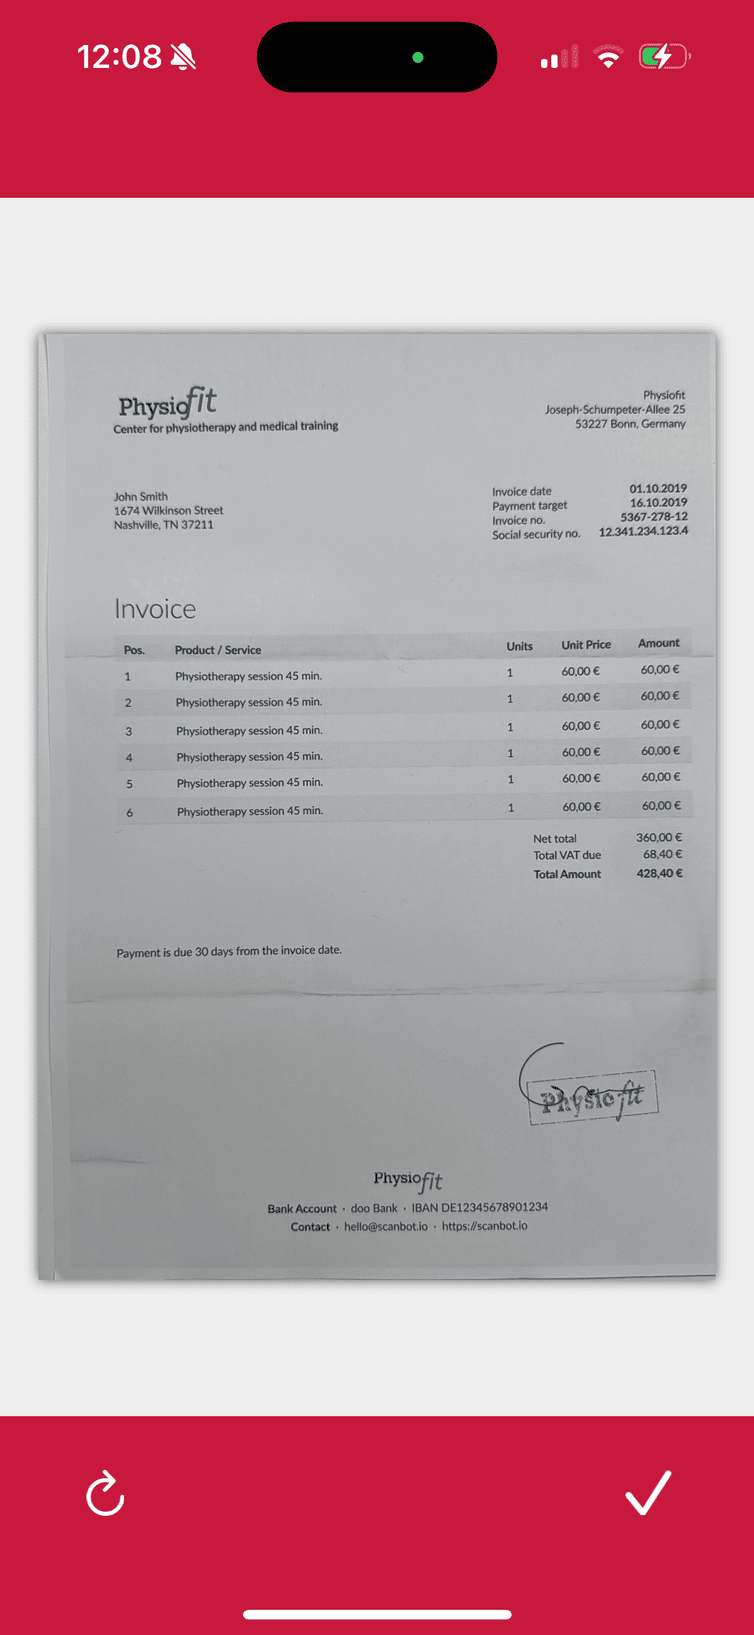
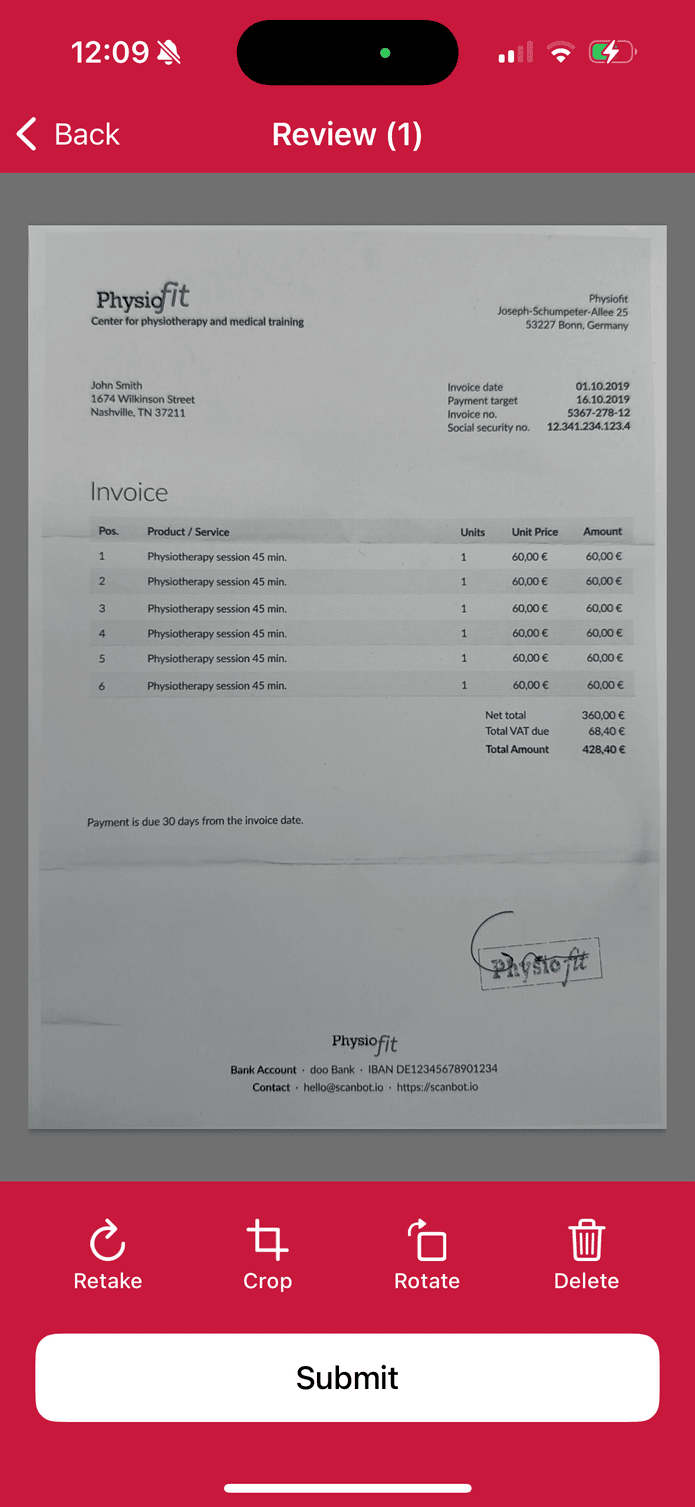
Document scanning flow
The new version of the Ready-to-Use UI provides not only separate scanning and cropping screens but also allows you to easily integrate the entire document scanning flow into your application.
The document scanning flow consists of the following screens combined in a single scanning process:
- Introduction Screen
- Scanning Screen
- Acknowledge Screen
- Review Screen
- Crop Screen
- Reorder Screen

You may also disable certain screens if they are unnecessary for your use case.
All screens are highly customizable, allowing you to adapt the UI to your app’s design and branding.
Document API
The new version of the Ready-to-Use UI introduces a new approach to handling scanned documents.
In contrast to the previous SBSDKDocument in RTU UI v.1.0, which served as a thread-safe, mutable container for SBSDKDocumentPage instances,
the new model SBSDKScannedDocument in RTU UI v.2.0 offers significant advancements in many ways but specially in terms of persistence and observability.
The former implementation did not support automatic persistence, and observability was limited to changes in the number of pages only,
restricting dynamic updates to the user interface.
The new model SBSDKScannedDocument, however, is an automatically persisted, thread-safe and observable document-page model
for a document with multiple scanned pages of type SBSDKScannedPage. Enabling a more seamless and responsive user experience by ensuring real-time updates
in response to modifications at any level.
Each page consists of an original image of the scan, various editing properties like cropping polygon, rotation and filters, some metadata properties like the document scanning status and the document quality analyzer result and a number of processed images in different stages. The editing properties of each page can be used to manipulate its final document image in a non-destructive way. The scanned pages can be organized (added, removed and moved) within the scanned document.
The scanned document automatically persists itself, including its pages and their images, on the disk, so that you can access and modify the scanned document, its pages and images across numerous app sessions. Various functions allow you to enumerate, load and delete your scanned documents.
Your app's user interface can easily observe documents and even individual pages to automatically refresh upon changes made to the scanned document or its pages.
Migration guide
Update Scanbot SDK version
The Document Scanner SDK RTU UI v.2.0 was introduced in version 6.0.0. To use the new RTU UI, you need to update the Scanbot SDK to version 6.0.0 or higher.
You may find the latest version of the Scanbot SDK in the corresponding Changelog.
'SBSDKUIDocumentScannerViewController' migration
Update the view controllers and the presentation of the results
The way you start the Ready-to-Use UI and process the results has changed. The new version of the Ready-to-Use UI is more flexible and allows you to configure the UI more easily.
Let's see how you can update the view controllers and result presentation for Ready-to-Use UI v.1.0 and v.2.0.
Imagine we have the ViewController where we call the Ready-to-Use UI (SBSDKUIDocumentScannerViewController) to scan a document and display the first page preview image.
import UIKit
import ScanbotSDK
// ... other imports

// Your ViewController class:
class ViewController: UIViewController, SBSDKUIDocumentScannerViewControllerDelegate {

    @IBOutlet weak var imageView: UIImageView!

    func scanningViewController(_ viewController: SBSDKUIDocumentScannerViewController, didFinishWith document: SBSDKDocument) {
        imageView.image = document.pages.first?.documentPreviewImage
    }

    @IBAction func openScannerTapped(_ sender: Any) {
        openDocumentScannerRtuV1()
    }

    func openDocumentScannerRtuV1() {
        let configuration = SBSDKUIDocumentScannerConfiguration.defaultConfiguration

        // ...scanner configuration

        SBSDKUIDocumentScannerViewController.present(on: self,
                                                        configuration: configuration,
                                                        delegate: self)
    }

    // ...
}
This is how you can update the delegate and result processing for Ready-to-Use UI v.2.0 to use a new SBSDKUI2DocumentScannerController.
In your View Controller, you no longer need to implement a delegate protocol. Instead, you can process the scanned document right after the presentation call.
loading...
Update the Ready-to-Use UI configuration
The configuration of the Ready-to-Use UI has changed. The new version of the Ready-to-Use UI is more flexible and allows you to configure the UI more easily.
Imagine you had the following configuration for the Ready-to-Use UI v.1.0:
// Your ViewController class:
func openDocumentScannerRtuV1() {
let configuration = SBSDKUIDocumentScannerConfiguration.defaultConfiguration
configuration.behaviorConfiguration.ignoreBadAspectRatio = true
configuration.behaviorConfiguration.autoSnappingSensitivity = 0.75
configuration.uiConfiguration.topBarBackgroundColor = UIColor.blue
configuration.uiConfiguration.bottomBarBackgroundColor = UIColor.blue
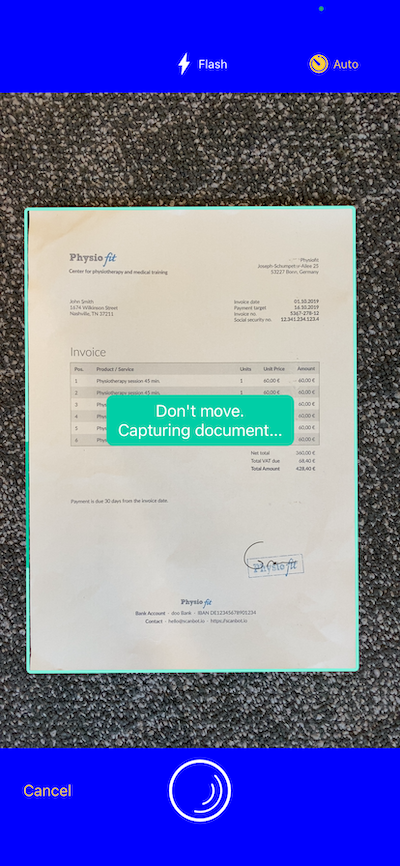
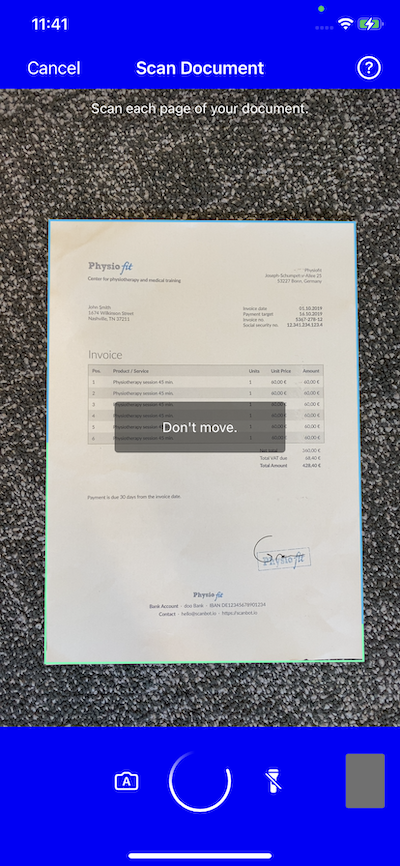
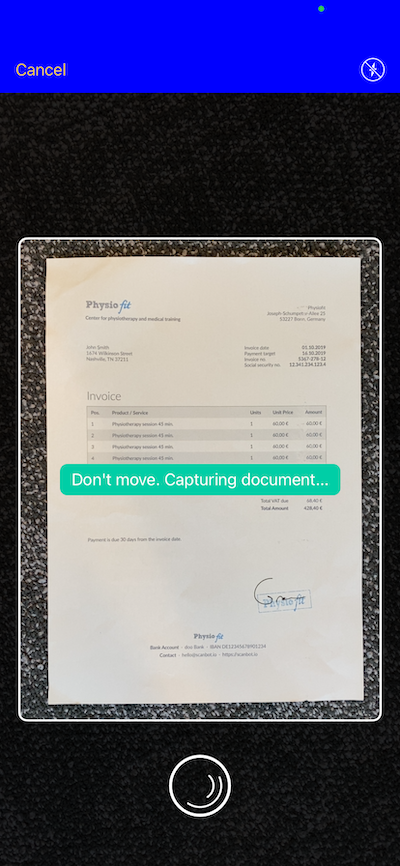
configuration.textConfiguration.textHintOK = "Don't move.\nCapturing document..."
configuration.uiConfiguration.isMultiPageButtonHidden = true
configuration.behaviorConfiguration.isMultiPageEnabled = false
SBSDKUIDocumentScannerViewController.present(on: self,
configuration: configuration,
delegate: self)
}
The new configuration for the Ready-to-Use UI v.2.0 looks like this:
loading...
'SBSDKUICroppingViewController' migration
As well as the SBSDKUIDocumentScannerViewController, the SBSDKUICroppingViewController has been updated to version v.2.0. Even though you may use the review screen to call the cropping screen, you can also call the cropping screen separately.

Update the view controllers and the presentation of the results
Same as for the SBSDKUIDocumentScannerViewController, the way you launch the SBSDKUICroppingViewController and process the results has changed.
import UIKit
import ScanbotSDK
// ... other imports

// Your ViewController class:
class ViewController: UIViewController, SBSDKUICroppingViewControllerDelegate {

    @IBOutlet weak var imageView: UIImageView!

    override func viewDidLoad() {
        super.viewDidLoad()
    }

    func croppingViewController(_ viewController: SBSDKUICroppingViewController, didFinish changedPage: SBSDKDocumentPage) {

        // Process the edited page and dismiss the editing screen.
        imageView.image = changedPage.documentPreviewImage
    }

    @IBAction func openCroppingTapped(_ sender: Any) {
        openCroppingRtuV1()
    }

    func openCroppingRtuV1() {
        let configuration = SBSDKUICroppingScreenConfiguration.defaultConfiguration

        // ...screen configuration

        SBSDKUICroppingViewController.present(on: self,
                                              page: SBSDKDocumentPage(pageFileID: UUID(uuidString: pageUuid)!, polygon: nil),
                                              configuration: configuration,
                                              delegate: self)
    }
}
In Ready-to-Use UI v.2.0, you no longer need to implement a delegate protocol in your View Controller. Instead, you can process the edited page right after the presentation call.
loading...
Update the Ready-to-Use UI configuration
The configuration of the Ready-to-Use UI has changed. The new version of the Ready-to-Use UI is more flexible and allows you to configure the UI more easily.
Imagine you had the following configuration for the Ready-to-Use UI v.1.0:
// ...
// in your ViewController class:
func openCroppingRtuV1() {
let configuration = SBSDKUICroppingScreenConfiguration.defaultConfiguration
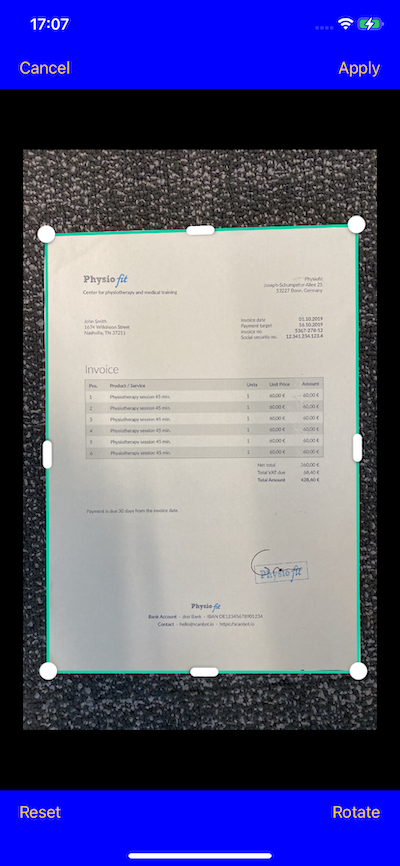
configuration.textConfiguration.doneButtonTitle = "Apply"
configuration.uiConfiguration.topBarBackgroundColor = UIColor.blue
configuration.uiConfiguration.bottomBarBackgroundColor = UIColor.blue
SBSDKUICroppingViewController.present(on: self,
page: SBSDKDocumentPage(pageFileID: UUID(uuidString: pageUuid)!, polygon: nil),
configuration: configuration,
delegate: self)
}
The new configuration for the Ready-to-Use UI v.2.0 looks like this:
loading...
'SBSDKUIFinderDocumentScannerViewController' migration
Unlike in the Ready-to-Use UI v.1.0 where you could use a separate SBSDKUIFinderDocumentScannerViewController, in the new version of the Ready-to-Use UI, you can use the DocumentScanningFlow to configure the camera screen with the finder aspect ratio.
Update the view controllers and the presentation of the results
With Ready-to-Use UI v.1.0 you could use the following code to launch the SBSDKUIFinderDocumentScannerViewController:
import UIKit
import ScanbotSDK

class ViewController: UIViewController, SBSDKUIFinderDocumentScannerViewControllerDelegate {

    @IBOutlet weak var imageView: UIImageView!

    override func viewDidLoad() {
        super.viewDidLoad()
    }

    func finderScanningViewController(_ viewController: SBSDKUIFinderDocumentScannerViewController,
                                      didFinishWith document: SBSDKDocument) {
        imageView.image = document.pages.first?.documentPreviewImage
    }

    @IBAction func openScannerTapped(_ sender: Any) {
        openFinderDocumentScannerRtuV1()
    }

    func openFinderDocumentScannerRtuV1() {
        let configuration = SBSDKUIFinderDocumentScannerConfiguration.defaultConfiguration

        // ...screen configuration

        SBSDKUIFinderDocumentScannerViewController.present(on: self,
                                                           configuration: configuration,
                                                           delegate: self)
    }
}
You may achieve similar behavior now using the same DocumentScanningFlow configuration with SBSDKUI2DocumentScannerController as for the regular document scanning flow.
For Ready-to-Use UI v.2.0, in your View Controller, you no longer need to implement a delegate protocol.
Instead, you can process the scanned document right after the presentation call.
loading...
Update the Ready-to-Use UI configuration
The configuration migration would be then similar to the SBSDKUIDocumentScannerViewController configuration.
Imagine you had the following configuration for the Ready-to-Use UI v.1.0 for the SBSDKUIFinderDocumentScannerViewController:
// ...
// in your ViewController class:
func openFinderDocumentScannerRtuV1() {
    let configuration = SBSDKUIFinderDocumentScannerConfiguration.defaultConfiguration

    configuration.uiConfiguration.topBarBackgroundColor = UIColor.blue
    configuration.uiConfiguration.finderAspectRatio = ScanbotSDK.SBSDKAspectRatio(width: 3.0, height: 4.0)
    configuration.uiConfiguration.isShutterButtonHidden = false

    SBSDKUIFinderDocumentScannerViewController.present(on: self,
                                                       configuration: configuration,
                                                       delegate: self)
}
The configuration for the Ready-to-Use UI v.2.0 would look like this:
loading...
Storage migration
To migrate the stored pages created with RTU UI v.1.0 and based on the legacy SBSDKDocument objects to the new RTU UI v.2.0 SBSDKScannedDocument model, you can use the provided migration functionalities.
During the migration process, the SDK takes the old metadata and original images and stores them in a new document, reapplying all the changes.
Take a look at the example below:
loading...
After successful migration, you may delete the files corresponding to the SBSDKDocument to free up storage.
Want to scan longer than one minute?
Generate a free trial license to test the Scanbot SDK thoroughly.
Get free trial licenseScanbot SDK is part of the Apryse SDK product family
A mobile scan is just the start. With Apryse SDKs, you can expand mobile workflows into full cross‑platform document processing. Whether you need to edit PDFs, add secure digital signatures, or use a fast, customizable document viewer and editor, Apryse gives you the tools to build powerful features quickly.
Learn more