Quick start | .NET MAUI Document Scanner


In this quick start guide, we focus on how to set up the Scanbot Document Scanner SDK for .NET MAUI in your app, all within 10 minutes – thanks to our Ready-to-Use UI! This article focuses on integration in a MAUI application only, for .NET iOS and .NET Android, please refer to our full documentation starting from here.
Installing the SDK
The Scanbot SDK for MAUI is available as a NuGet package, ScanbotSDK.MAUI.
Add the NuGet package as the following code to your *.csproj file in your project folder:
<ItemGroup>
        <PackageReference Condition="$(TargetFramework.Contains('ios'))" Include="ScanbotSDK.MAUI" Version="6.1.0" />
        <PackageReference Condition="$(TargetFramework.Contains('android'))" Include="ScanbotSDK.MAUI" Version="6.1.0" />
</ItemGroup>
Now, in your project folder, please execute the dotnet restore command from the terminal to install the newly added NuGet package to your project.
Permissions
The Scanbot SDK needs access to the device camera, so it can scan from a live camera stream. Therefore, the camera permission must be defined.
- Android
- iOS
Required permissions for Android
Make sure to add the Camera permission in your AndroidManifest.xml file:
<uses-permission android:name="android.permission.CAMERA" />
<uses-feature android:name="android.hardware.camera" />
Note how we also added the uses-feature tag for better recognition of your app on the Google Play Store (see more).
Required permissions for iOS
Add the following properties to your Info.plist file:
<key>NSCameraUsageDescription</key>
<string>Please provide camera access to Scanbot SDK.</string>
Initializing the SDK
In MauiProgram.cs, initialize the Scanbot SDK by replacing the contents with the following code:
using Microsoft.Extensions.Logging;
using ScanbotSDK.MAUI;

// Replace test_maui with the namespace of your app.
namespace test_maui;

public static class MauiProgram
{
    // Without a license key, the Scanbot SDK will work for 1 minute.
    // To scan longer, register for a trial license key here: https://docs.scanbot.io/trial/
    public const string LicenseKey = "";

    public static MauiApp CreateMauiApp()
    {
        var builder = MauiApp.CreateBuilder();
        builder
            .UseMauiApp<App>()
            .ConfigureFonts(fonts =>
            {
                fonts.AddFont("OpenSans-Regular.ttf", "OpenSansRegular");
                fonts.AddFont("OpenSans-Semibold.ttf", "OpenSansSemibold");
            });

#if DEBUG
        builder.Logging.AddDebug();
#endif

        SBSDKInitializer.Initialize(builder, LicenseKey, new SBSDKConfiguration
        {
            EnableLogging = true,
        });

        return builder.Build();
    }
}
Start the Document Scanner and process the result
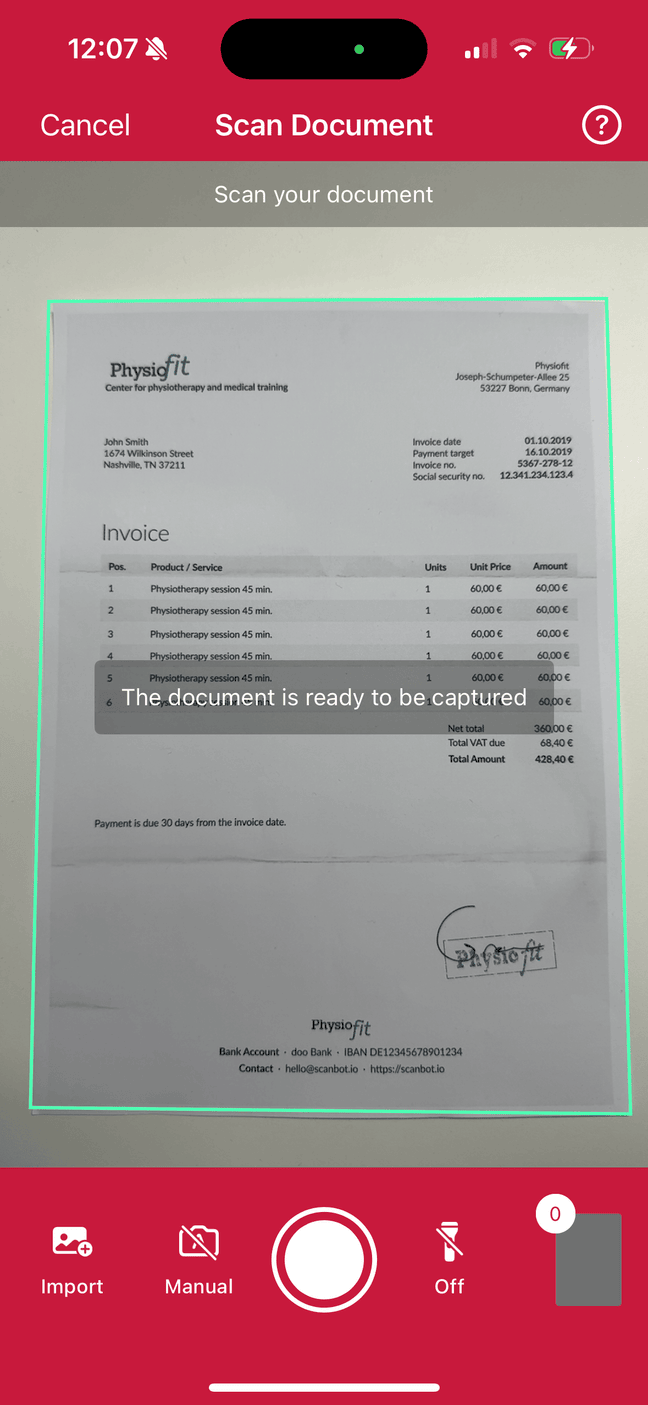
With just a few lines of code, the Scanbot Document Scanner Ready-To-Use UI component SBSDKUI2DocumentScannerController can be integrated into your
application's workflow. It's as simple as starting any regular iOS View Controller.
// Create the default configuration object.
let configuration = DocumentScanningFlow()

// Present the recognizer view controller modally on this view controller.
var scannedDocumentResult = await RTU.DocumentScanner.LaunchAsync(configuration);

// Completion handler to process the result.
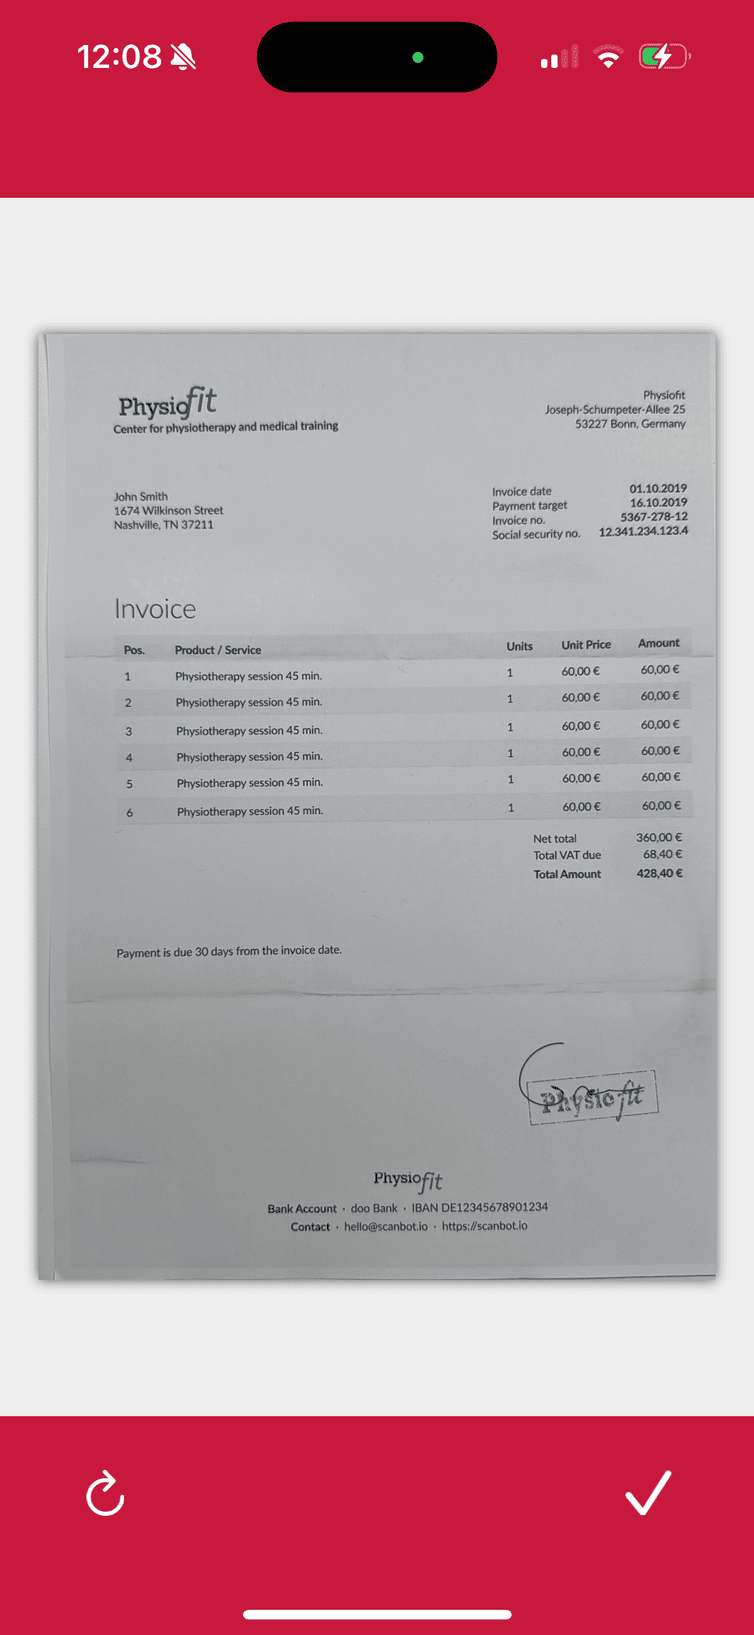
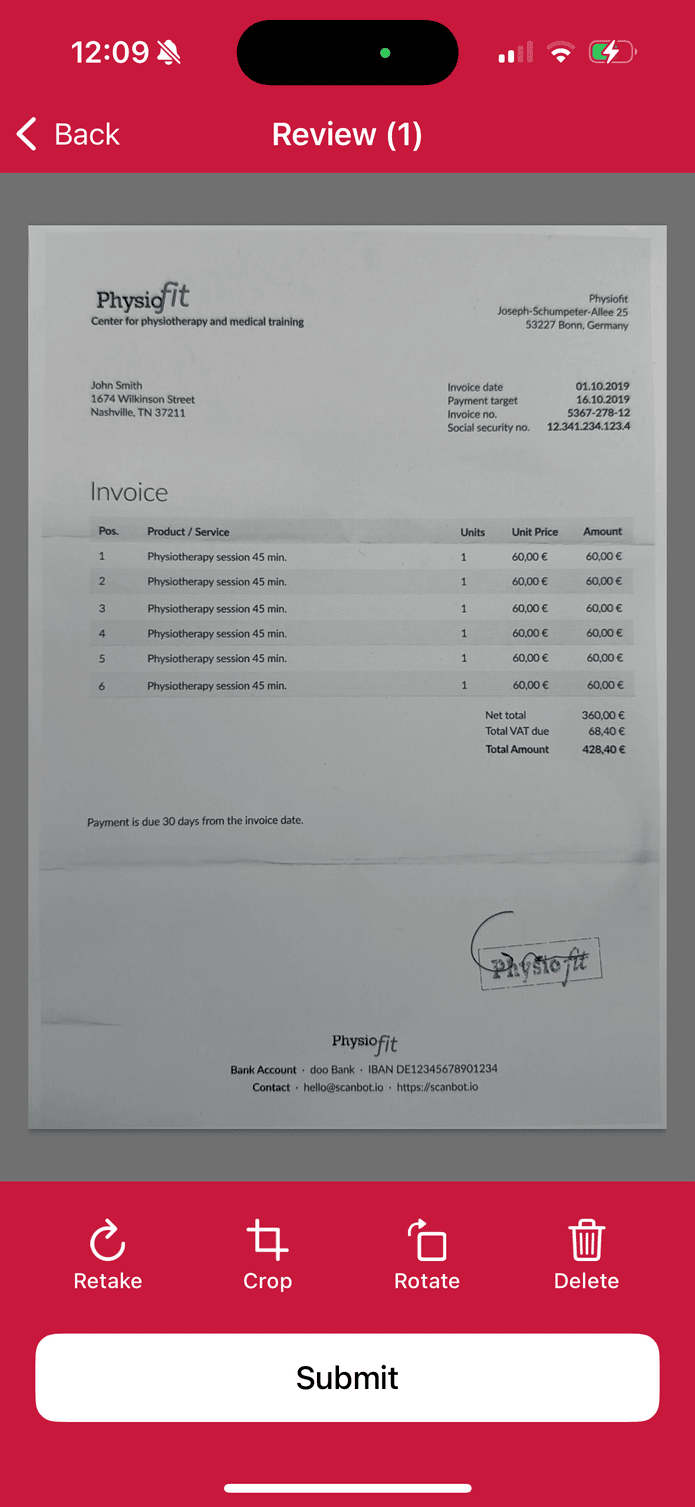
if (scannedDocumentResult != null)
{
    // Handle the document.
}
🚀 That's it! 🚀 You have successfully integrated a full-featured document scanner as an RTU UI Page into your app.
💡 Customization: In this Quick Start guide, we use the default configuration for the scanner UI.
Feel free to explore the configs and customize the UI and behavior according to your needs via the DocumentScanningFlow class.
For more details, please refer to the Ready-to-Use UI page.
Want to scan longer than one minute?
Generate a free trial license to test the Scanbot SDK thoroughly.
Get your free Trial License