Quick start for the Flutter Barcode Scanner SDK
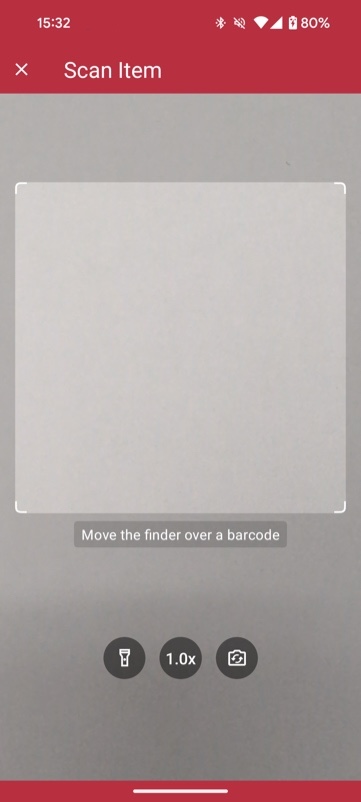
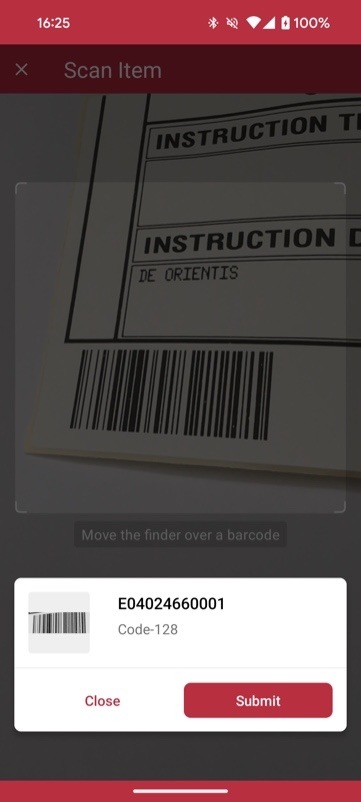
In this section, you'll learn how to set up the Scanbot Barcode Scanner SDK for Flutter in your app, with Barcode Scanning enabled, all within 10 minutes — thanks to our Ready-to-Use UI!
Install the Barcode Scanner SDK
To install the Barcode Scanner SDK, run the following command in your root project folder:
flutter pub add barcode_scanner
To get the latest version of the Scanbot SDK, please refer to the changelog.
Configure the native projects
The Scanbot SDK needs access to the device camera to scan from a live camera stream. Therefore, the camera permission must be defined.
Android
For Android, we need to add the camera permissions in android/app/src/main/AndroidManifest.xml
<uses-permission android:name="android.permission.CAMERA" />
<uses-feature android:name="android.hardware.camera" />
Note how we also added the uses-feature tag for better recognition of your app on the Google Play Store (more about this in the Android developer documentation).
Our Ready-to-Use UI Components handle the runtime permissions automatically, so there is no need to add anything else in the code.
iOS
For iOS, we need to include a description for the camera permission in ios/{projectName}/Info.plist anywhere inside the <dict> element:
<key>NSCameraUsageDescription</key>
<string>Describe why your app wants to access the device's camera.</string>
Initialize the SDK
Before using any feature of the Flutter Barcode Scanner SDK, you need to initialize it.
Ideally, initialization should be done as soon as the app is launched, before any of the SDK's features are used, e.g., after runApp inside the main function.
Make sure to add the following import to the top of the file:
import 'package:barcode_scanner/scanbot_barcode_sdk.dart';
To initialize the SDK, simply use the initialize function:
loading...
You can use the Scanbot Flutter Barcode Scanner SDK for quick testing or evaluation purposes even without a license key. However, the SDK will only work for 60 seconds per app session and may not be used for production purposes.
Want to scan longer than 60 seconds? Get your free trial license key here.
Start the Barcode Scanner and process the result
The SDK's RTU UI Components make it easy to deploy the various barcode scanning modes in your app.
To start the single-scanning mode within a component, add the following function:
void _startBarcodeScanning() async {
  // Create the default configuration object.
  var configuration = BarcodeScannerScreenConfiguration();

  // Modify configuration per your needs

  // Start the scanner
  var result = await ScanbotBarcodeSdk.barcode.startScanner(configuration);

  if (result is Ok<BarcodeScannerUiResult>) {
    // TODO: present barcode result as needed
    print(result.value.items.first.barcode.text);
  }
}
Now, to launch the Barcode Scanner UI, just call _startBarcodeScanning where needed, e.g., on the onPressed event of a button:
ElevatedButton(
    onPressed: _startBarcodeScanning,
    style: ElevatedButton.styleFrom(
        padding: const EdgeInsets.symmetric(vertical: 20, horizontal: 40),
        textStyle: const TextStyle(fontSize: 18),
    ),
    child: const Text("Start single-barcode scanning"),
),
🚀 That's it! 🚀 You have successfully integrated a full-featured barcode scanner as an RTU UI into your app.
💡 Customization: In this Quick Start guide, we use the default configuration for the scanner UI.
Feel free to explore the configs and customize the UI and behavior according to your needs via
the BarcodeScannerScreenConfiguration class.
For more details, please refer to the Ready-to-Use UI section.
Want to scan longer than one minute?
Generate a free trial license to test the Scanbot SDK thoroughly.
Get free trial licenseScanbot SDK is part of the Apryse SDK product family
A mobile scan is just the start. With Apryse SDKs, you can expand mobile workflows into full cross‑platform document processing. Whether you need to edit PDFs, add secure digital signatures, or use a fast, customizable document viewer and editor, Apryse gives you the tools to build powerful features quickly.
Learn more