How to migrate your Android Document Scanner from RTU UI v.1.0 to v.2.0
Introduction
Version 2.0 of the Document Scanner SDK's RTU UI further streamlines the integration of our scanning functionalities into your mobile app and provides a tried and true user experience. It also adds several new features – most notably dedicated screens for scanning, reviewing, and editing documents. Thanks to in-depth configuration options, you can tailor the scanning flow to your use case.
If you are currently using RTU UI v.1.0 in your app, this guide will help you migrate to v.2.0.
Key concept differences
Document scanning flow
The new version of the Ready-to-Use UI provides not only separate scanning and cropping screens but also allows you to easily integrate the entire document scanning flow into your application.
The document scanning flow consists of the following screens combined in a single scanning process:
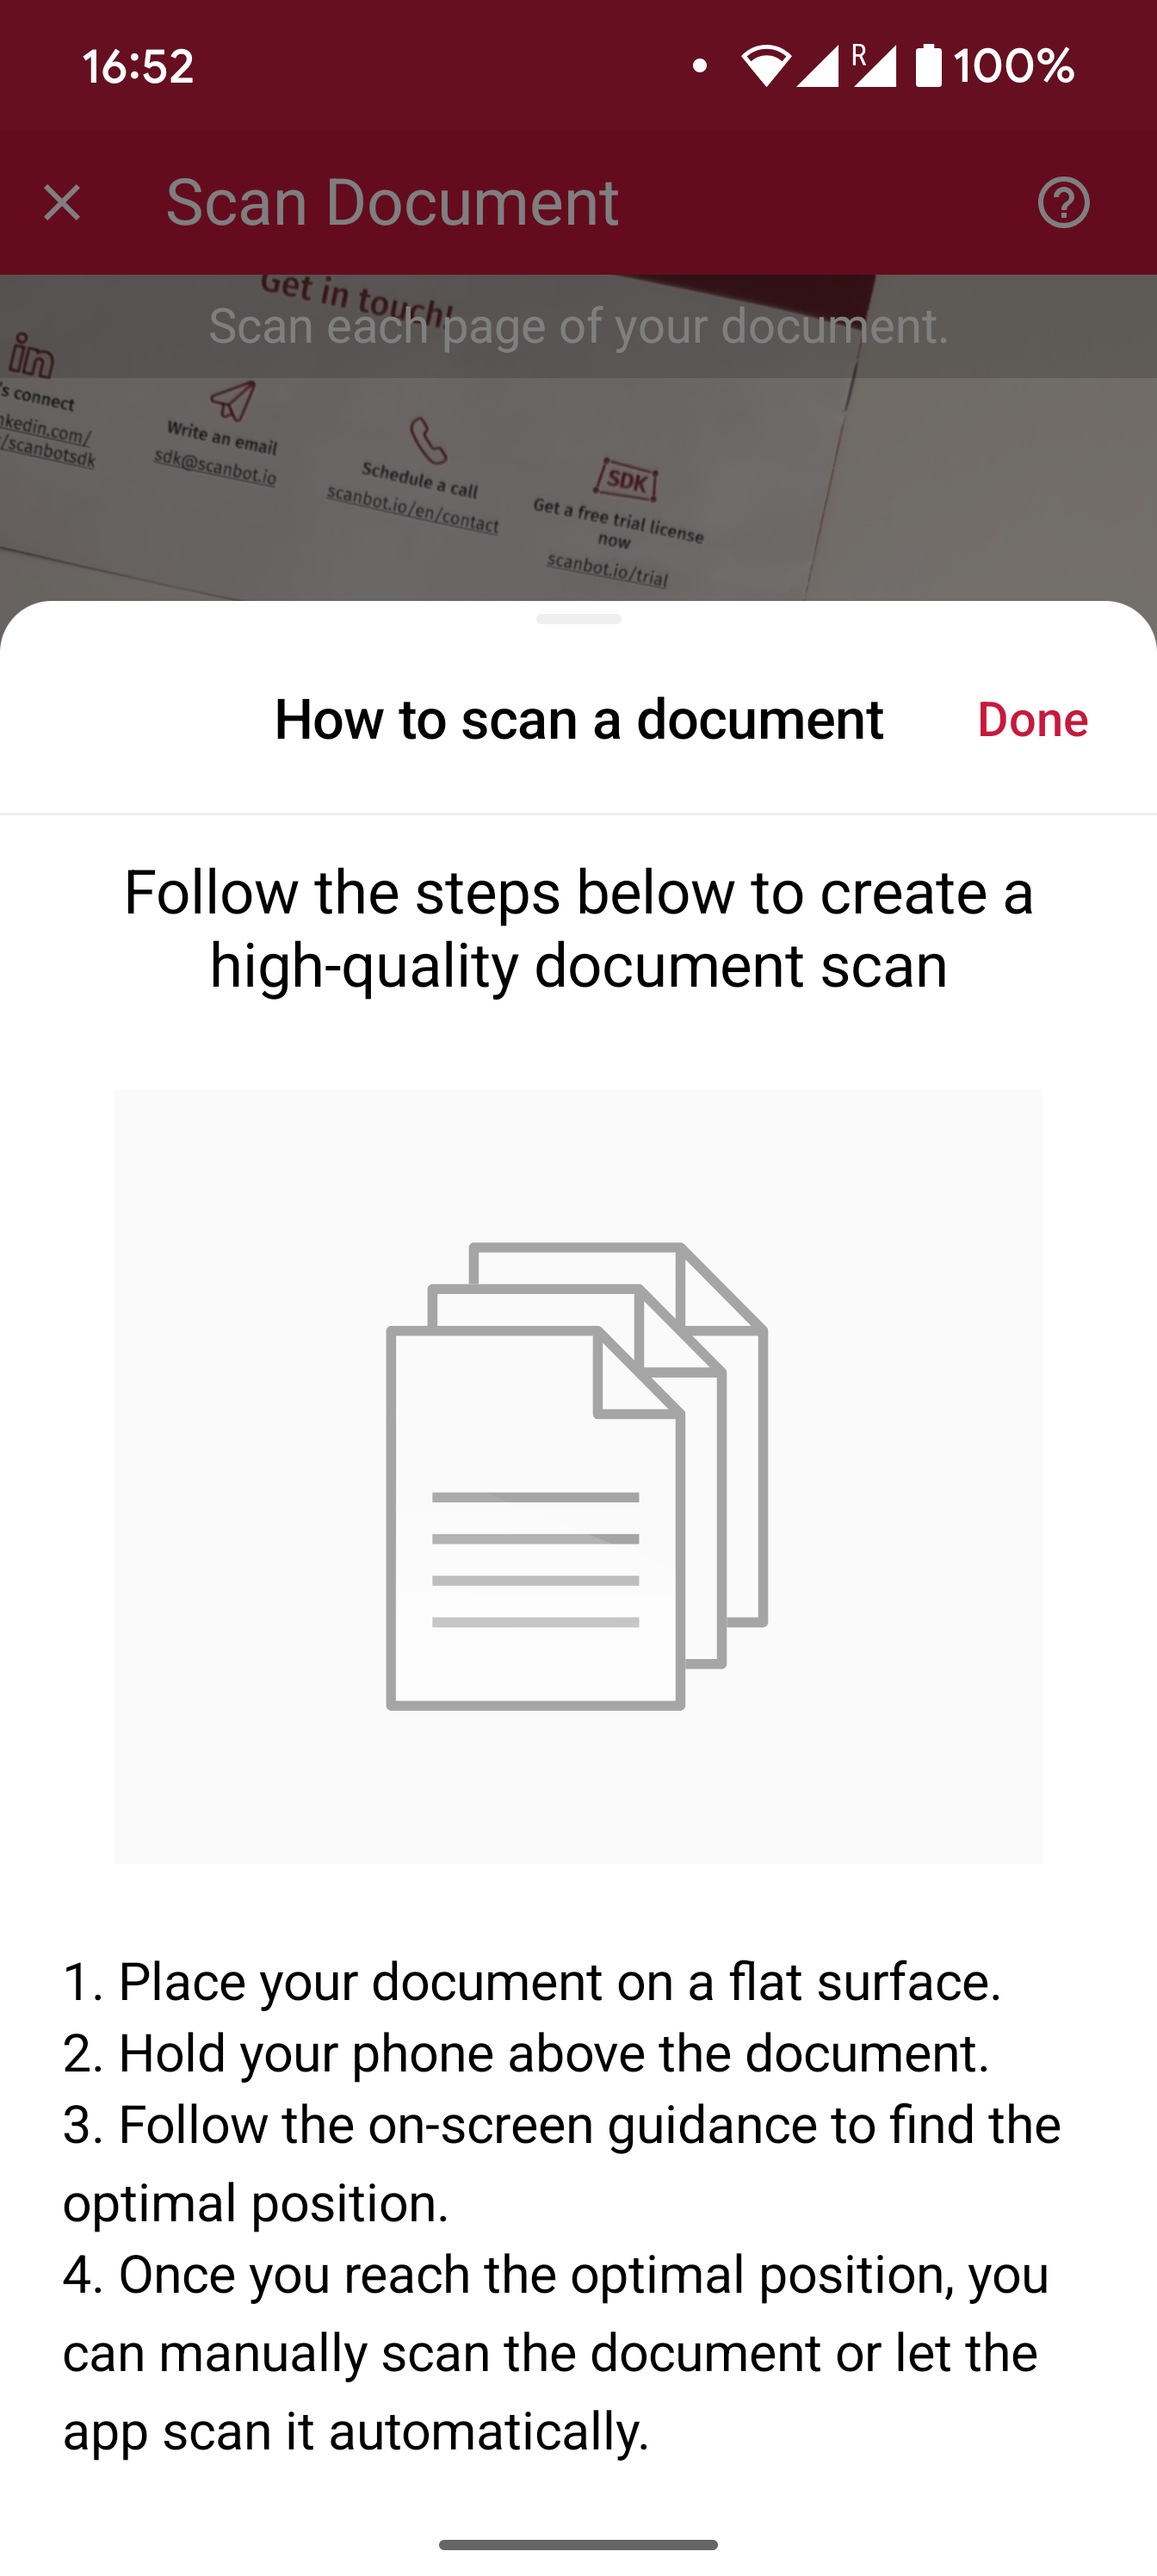
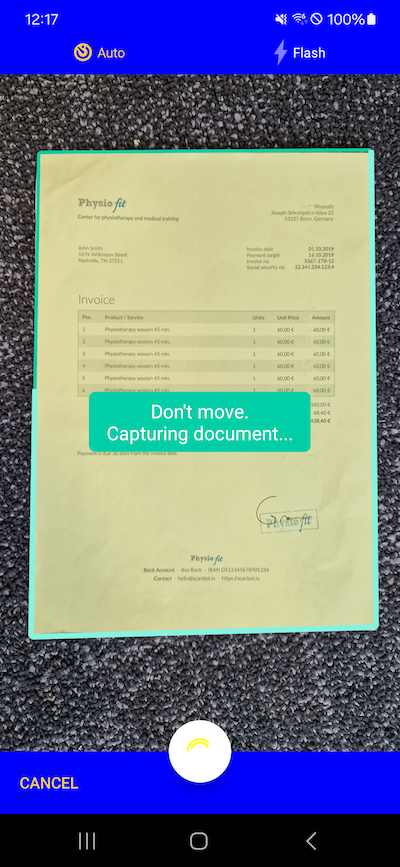
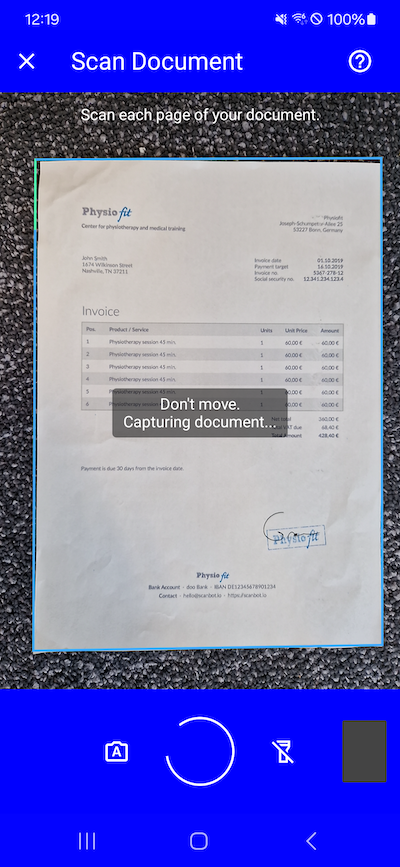
- Introduction Screen
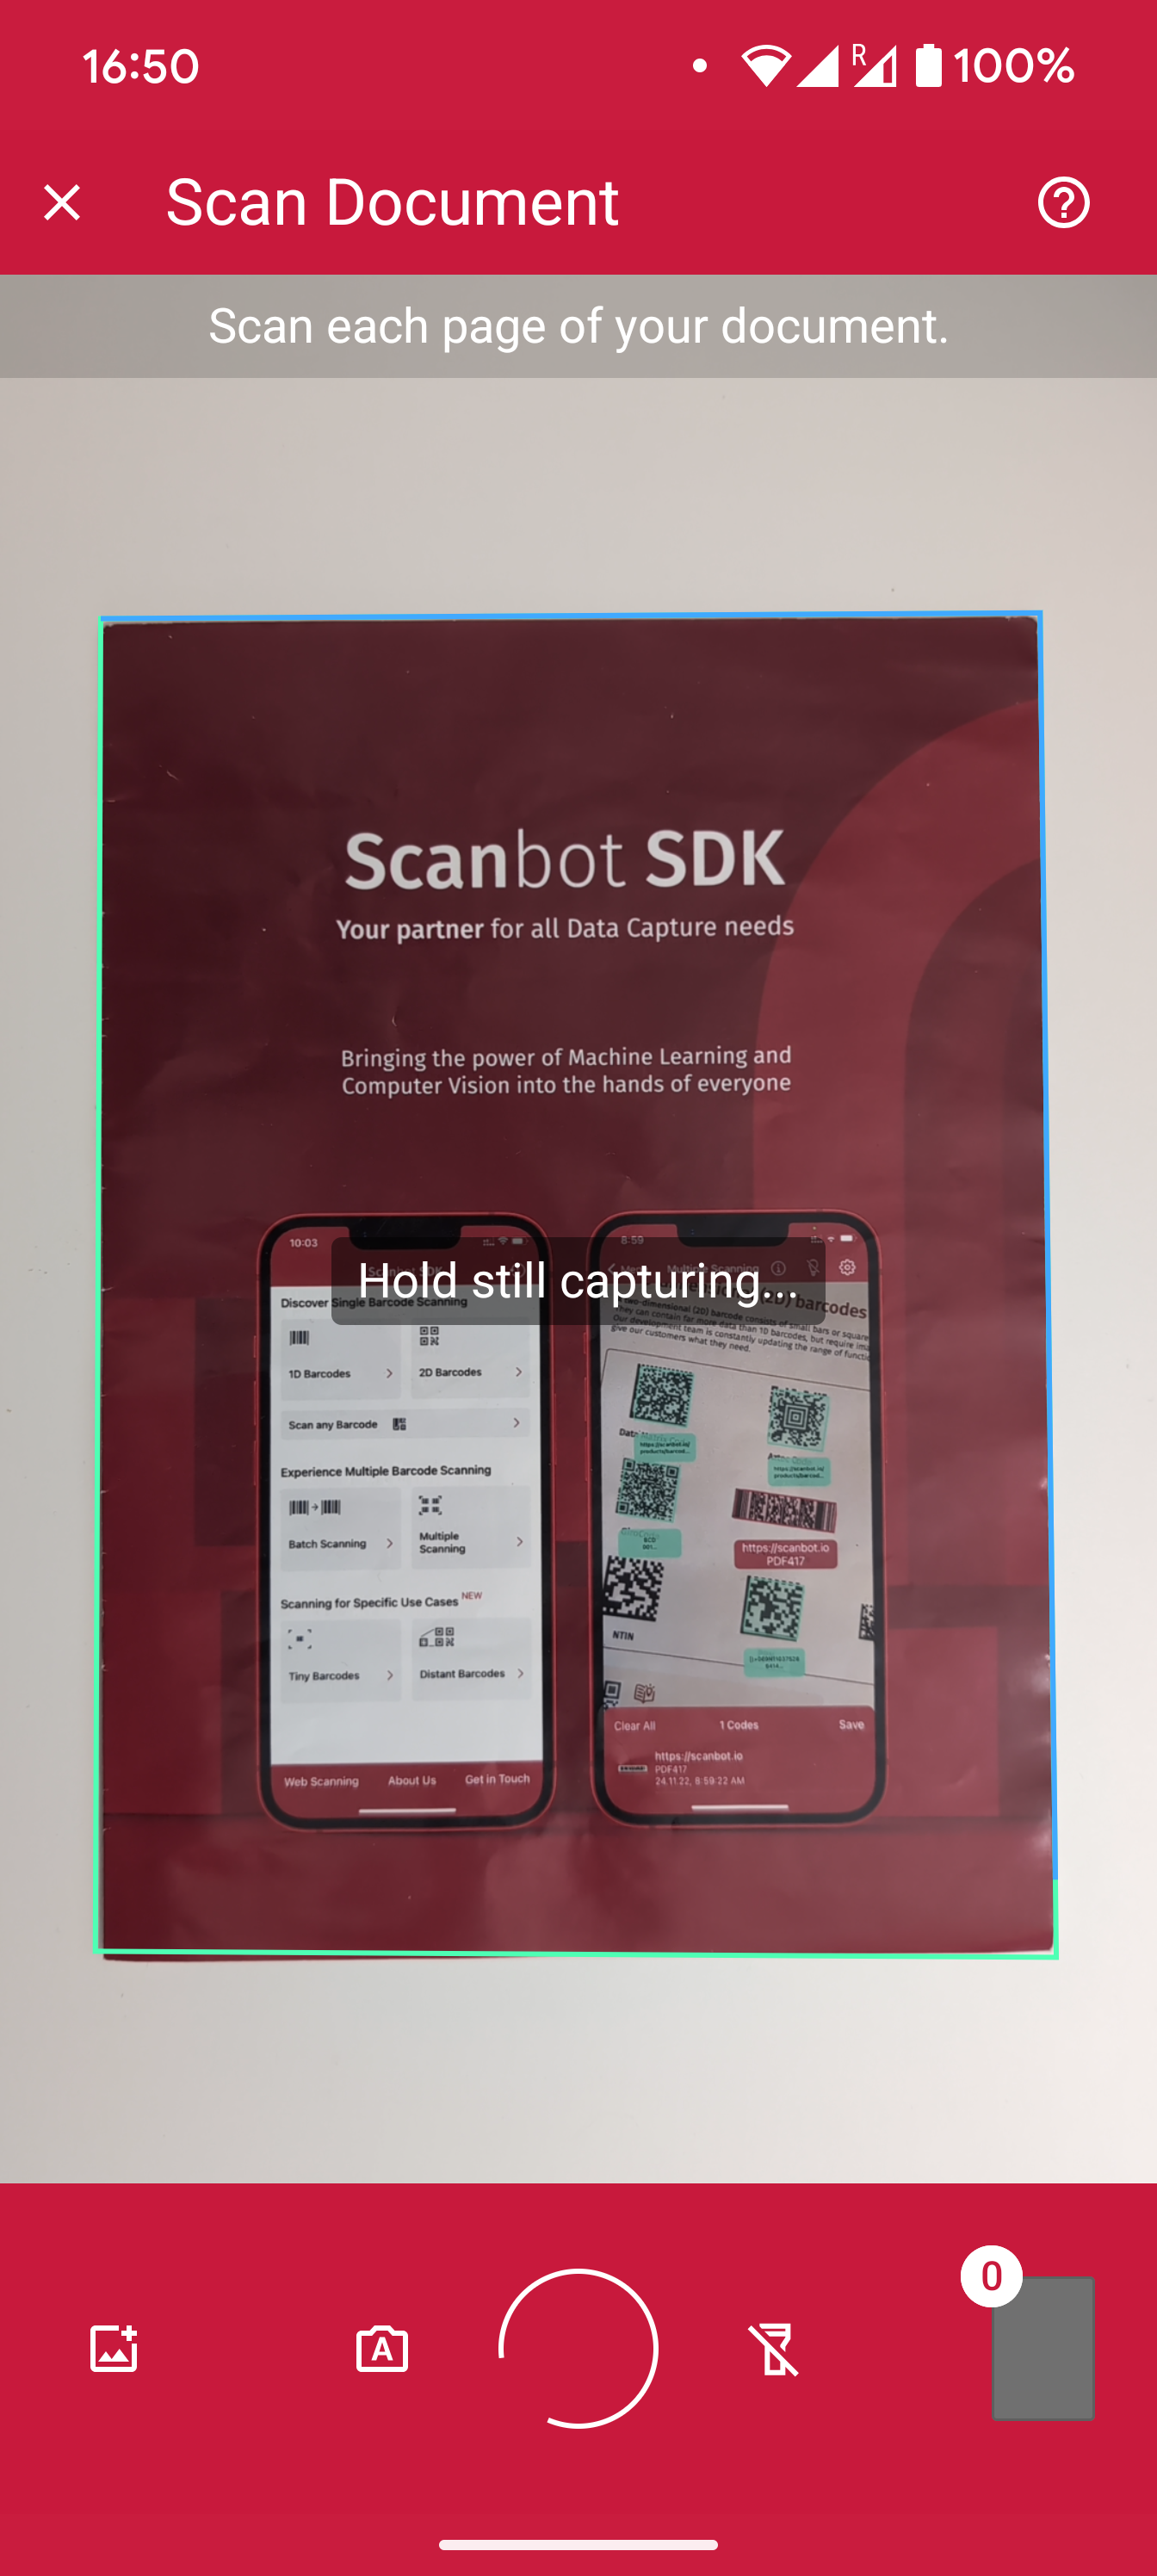
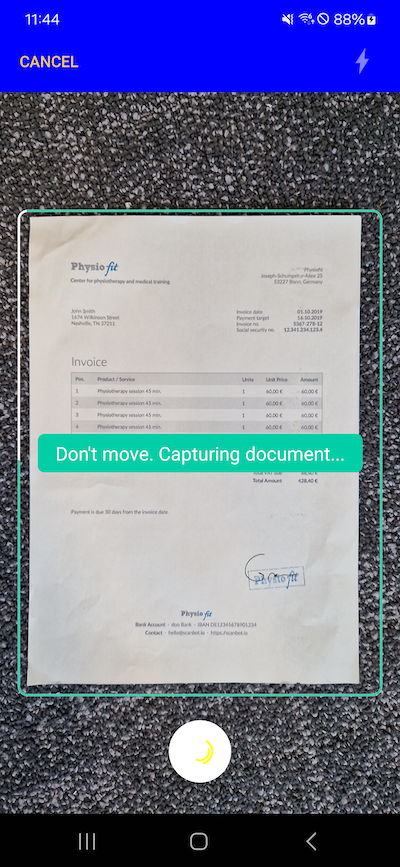
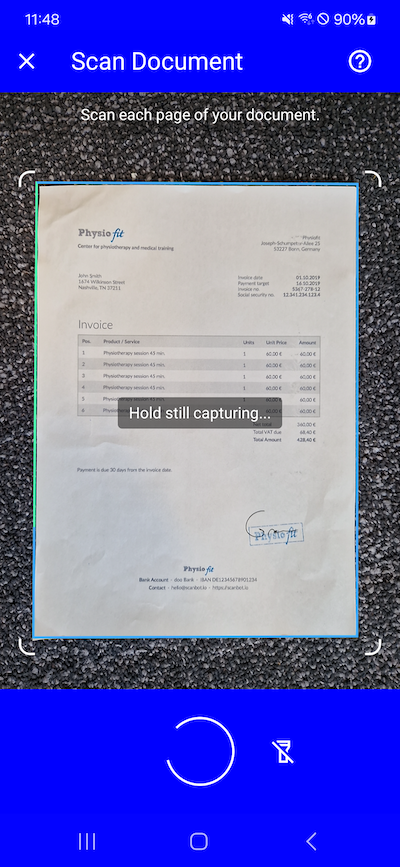
- Scanning Screen
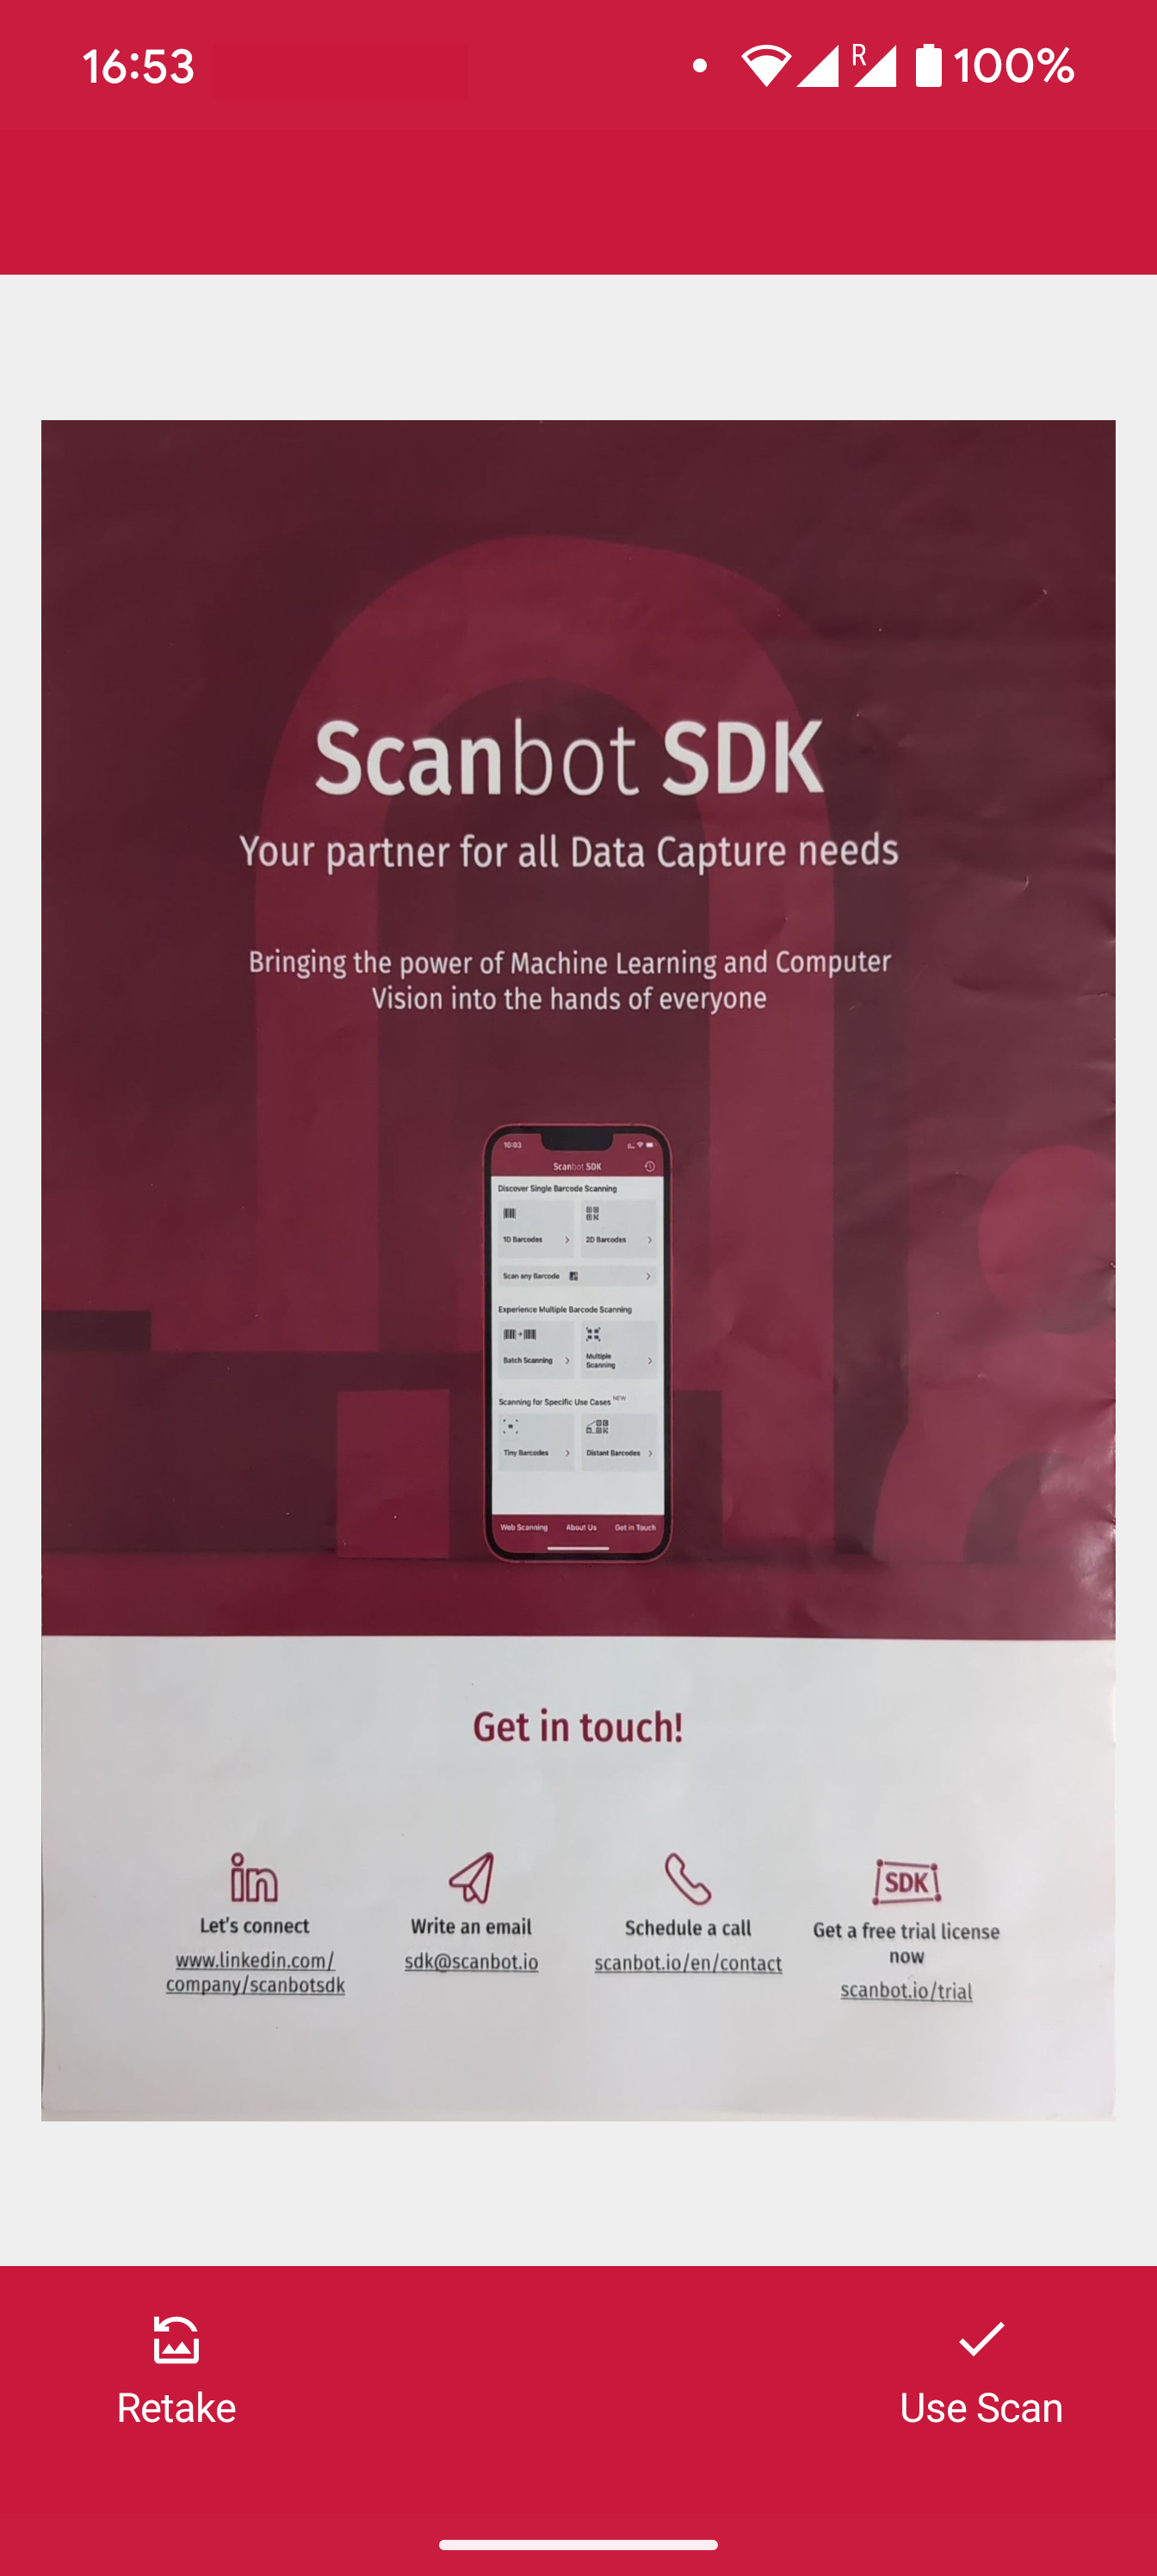
- Acknowledge Screen
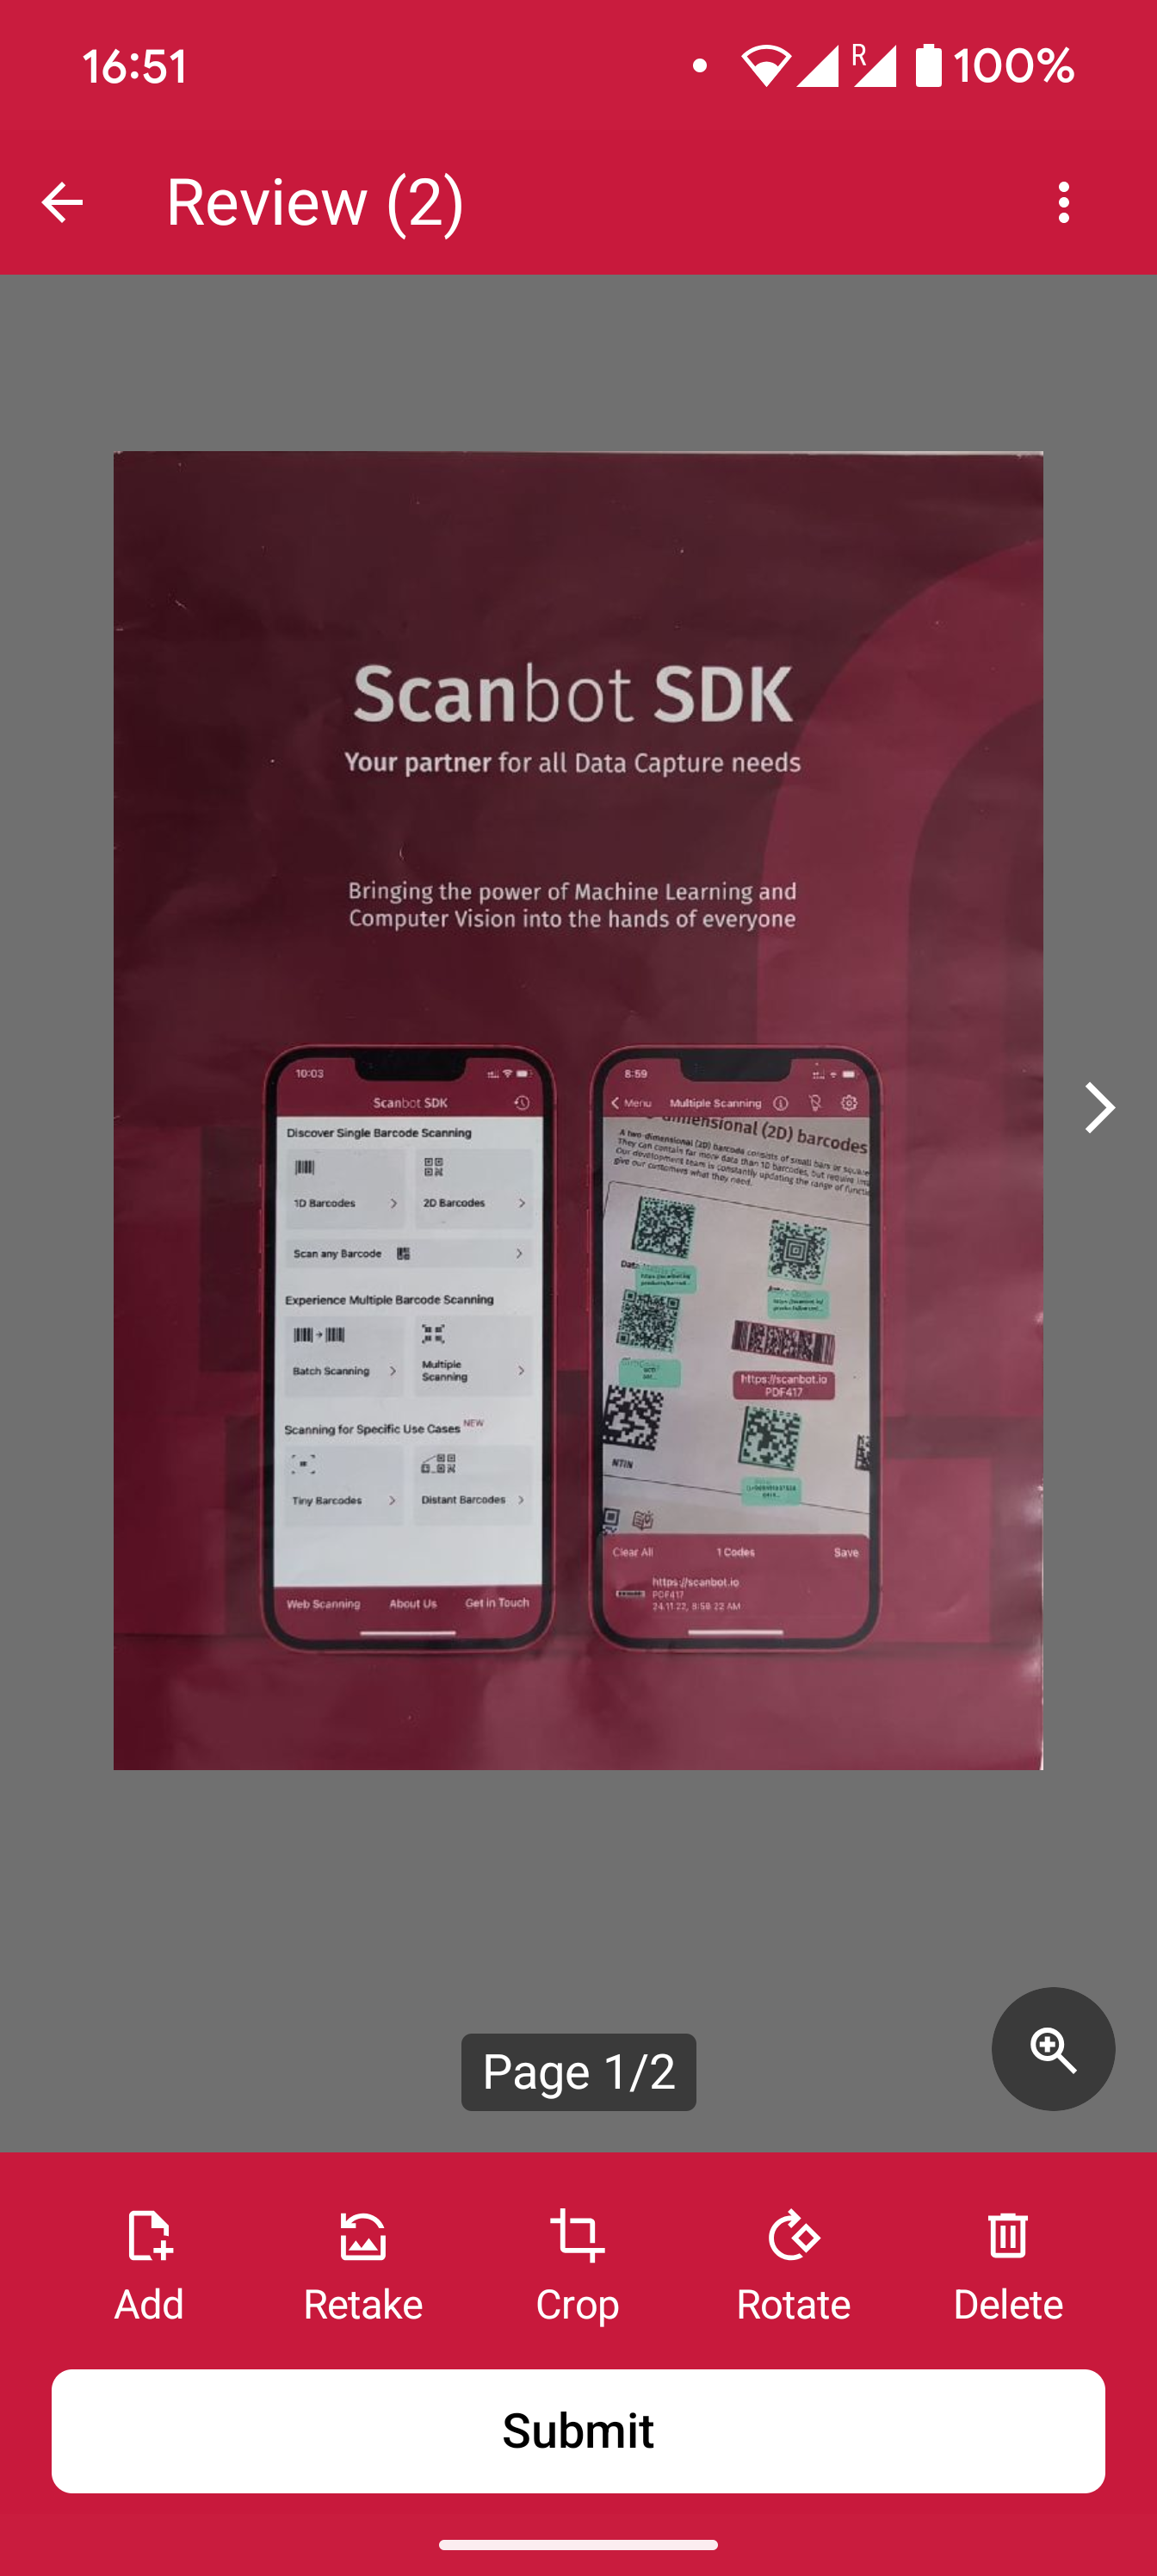
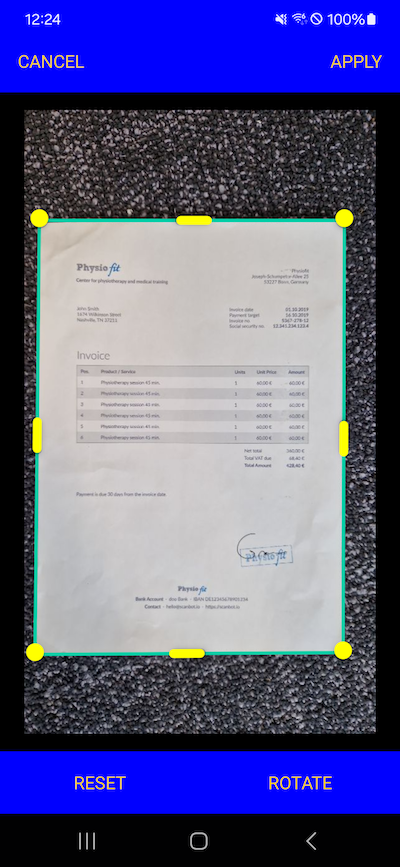
- Review Screen
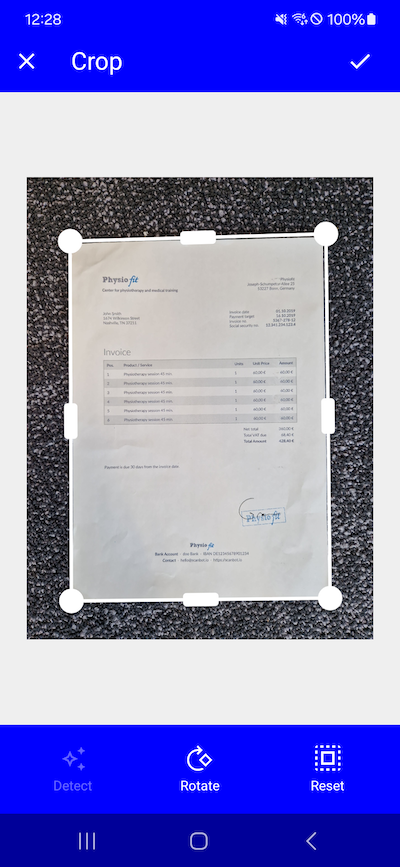
- Crop Screen
- Reorder Screen
You may also disable certain screens if they are unnecessary for your use case.
All screens are highly customizable, allowing you to adapt the UI to your app’s design and branding.
Document API
The new version of the Ready-to-Use UI introduces a new approach to handling scanned documents. Instead of working with Page objects, you now work with Document objects.
Previously, legacy Page objects were stored in the file system as folders with UUIDs as folder names. Each Page folder contained the original image and the document image.
In v.2.0, the Document Scanner Flow produces a Document object instead of a list of Page objects. The Document object contains a list of new Page objects, each with metadata like the cropping polygon, rotation, filters, document detection status, and the result from the Document Quality Analyzer.
You can access the Document object directly from the result of the Document Scanning screen or load it from the SDK’s Document API using the document UUID.
The new Document API provides more convenient methods for managing documents rather than separate pages. You can manage document pages, apply filters, and export the document as a PDF or TIFF file, or delete the document and all the files associated with it.
Migration guide
Update Scanbot SDK version
The Document Scanner SDK RTU UI v.2.0 was introduced in version 6.0.0. To use the new RTU UI, you need to update the Scanbot SDK to version 6.0.0 or higher.
You may find the latest version of the Scanbot SDK in the corresponding Changelog.
Add RTU UI v.2.0 dependency
To add the Ready-to-Use UI v.2.0 to your project, you need to add the following dependency to your build.gradle.kts file:
// Ready-to-use UI v.2.0 dependency:
implementation("io.scanbot:rtu-ui-v2-bundle:$latestSdkVersion")

// Required for the Acknowledge screen and the Document Quality Analyzer feature:
implementation("io.scanbot:sdk-multitasktext-assets:$latestSdkVersion")
'DocumentScannerActivity' migration
Update the launcher and result processing
The way you launch the Ready-to-Use UI and process the results has changed. The new version of the Ready-to-Use UI is more flexible and allows you to configure the UI more easily.
Let's see how you can update the launcher and result processing for the Ready-to-Use UI v.1.0 and v.2.0.
Imagine we have the MainActivity, where we call the Ready-to-Use UI to scan a document and display the first page preview image.
loading...
This is how you can update the launcher and result processing for the Ready-to-Use UI v.2.0:
loading...
Update the Ready-to-Use UI configuration
The configuration of the Ready-to-Use UI has changed. The new version of the Ready-to-Use UI is more flexible and allows you to configure the UI more easily.
Imagine you had the following configuration for the Ready-to-Use UI v.1.0:
loading...
The new configuration for the Ready-to-Use UI v.2.0 looks like this:
loading...
'CroppingActivity' migration
As well as the DocumentScannerActivity, the CroppingActivity has been updated to version v.2.0. Even though you may use the Review Screen to call the Cropping Screen, you can also call the Cropping Screen separately.
Update the launcher and result processing
Same as for the DocumentScannerActivity, the way you launch the CroppingActivity and process the results has changed.
loading...
This is how you can update the launcher and result processing for the Ready-to-Use UI v.2.0:
loading...
Update the Ready-to-Use UI configuration
The configuration of the Ready-to-Use UI has changed. The new version of the Ready-to-Use UI is more flexible and allows you to configure the UI more easily.
Imagine you had the following configuration for the Ready-to-Use UI v.1.0:
loading...
The new configuration for the Ready-to-Use UI v.2.0 looks like this:
loading...
'FinderDocumentScannerActivity' migration
Unlike in the Ready-to-Use UI v.1.0, where you could use a separate FinderDocumentScannerActivity, in the new version of the Ready-to-Use UI, you can use the DocumentScanningFlow to configure the camera screen with the finder aspect ratio.
Update the launcher and result processing
With Ready-to-Use UI v.1.0, you could use the following code to launch the FinderDocumentScannerActivity:
loading...
You may achieve similar behavior now using the same DocumentScanningFlow configuration as for the DocumentScannerActivity.
loading...
Update the Ready-to-Use UI configuration
The configuration migration would be then similar to the DocumentScannerActivity configuration.
Imagine you had the following configuration for the Ready-to-Use UI v.1.0 for the FinderDocumentScannerActivity:
loading...
The configuration for the Ready-to-Use UI v.2.0 would look like this:
loading...
Storage migration
To migrate the stored pages created with the RTU UI v.1.0 and based on the legacy Page objects to the new RTU UI v.2.0 model, you can use the provided migration function.
This function takes the original pages and converts them into a new document. This process takes the old metadata and original images and stores them in a new document, reapplying all the changes.
Take a look at the example below:
loading...
Want to scan longer than one minute?
Generate a free trial license to test the Scanbot SDK thoroughly.
Get free trial licenseScanbot SDK is part of the Apryse SDK product family
A mobile scan is just the start. With Apryse SDKs, you can expand mobile workflows into full cross‑platform document processing. Whether you need to edit PDFs, add secure digital signatures, or use a fast, customizable document viewer and editor, Apryse gives you the tools to build powerful features quickly.
Learn more