Ready-to-Use UI
The Ready-to-Use (RTU) UI v2 for MRZ scanning offers a pre-built, user-friendly interface for seamlessly integrating MRZ scanning capabilities into applications. Designed to detect, read, and extract data from the MRZ sections of documents like passports, visas, and ID cards etc, this solution combines precision and performance with minimal integration effort.
The RTU UI v2 is not only optimized for fast and accurate recognition but also provides extensive customization options, allowing developers to tailor the interface and behavior to match specific app workflows and branding. Its advanced scanning ensures reliable results even in challenging conditions, such as low light or tilted document angles, making it an ideal choice for industries requiring robust identity verification or automated document processing.
By leveraging the RTU UI v2, developers can deliver a streamlined, professional-grade MRZ scanning experience with enhanced usability and efficiency.
Although the main idea of the RTU UI is to provide simple-to-integrate and simple-to-configure components, its customization capabilities are numerous and should suit most of your needs. To achieve an even higher degree of customization, you can implement a custom UI and business-logic using our Classic UI Components.
Add Feature as a Dependency
MRZScanner is available with SDK Package 2 (Data Capture Modules). You have to add the following dependency for it:
implementation("io.scanbot:sdk-package-2:$latestVersion")
implementation("io.scanbot:sdk-mrz-assets:$latestSdkVersion")
implementation("io.scanbot:rtu-ui-v2-bundle:$latestSdkVersion")
Launching the scanner
In this section, we'll show you how to start the MRZ Scanner with minimal code. We'll also describe how to configure it extensively later on.
loading...
Change the visuals to suit your needs
In addition to a fresh new design, the RTU UI v2 comes with new configuration options that enable you to quickly adapt its visual appearance:
Palette
Using the new palette feature, you can change the UI components' colors to match your brand design.
loading...
Localization
Using the new localization feature, you can easily localize the strings that are displayed on buttons, labels and text fields.
loading...
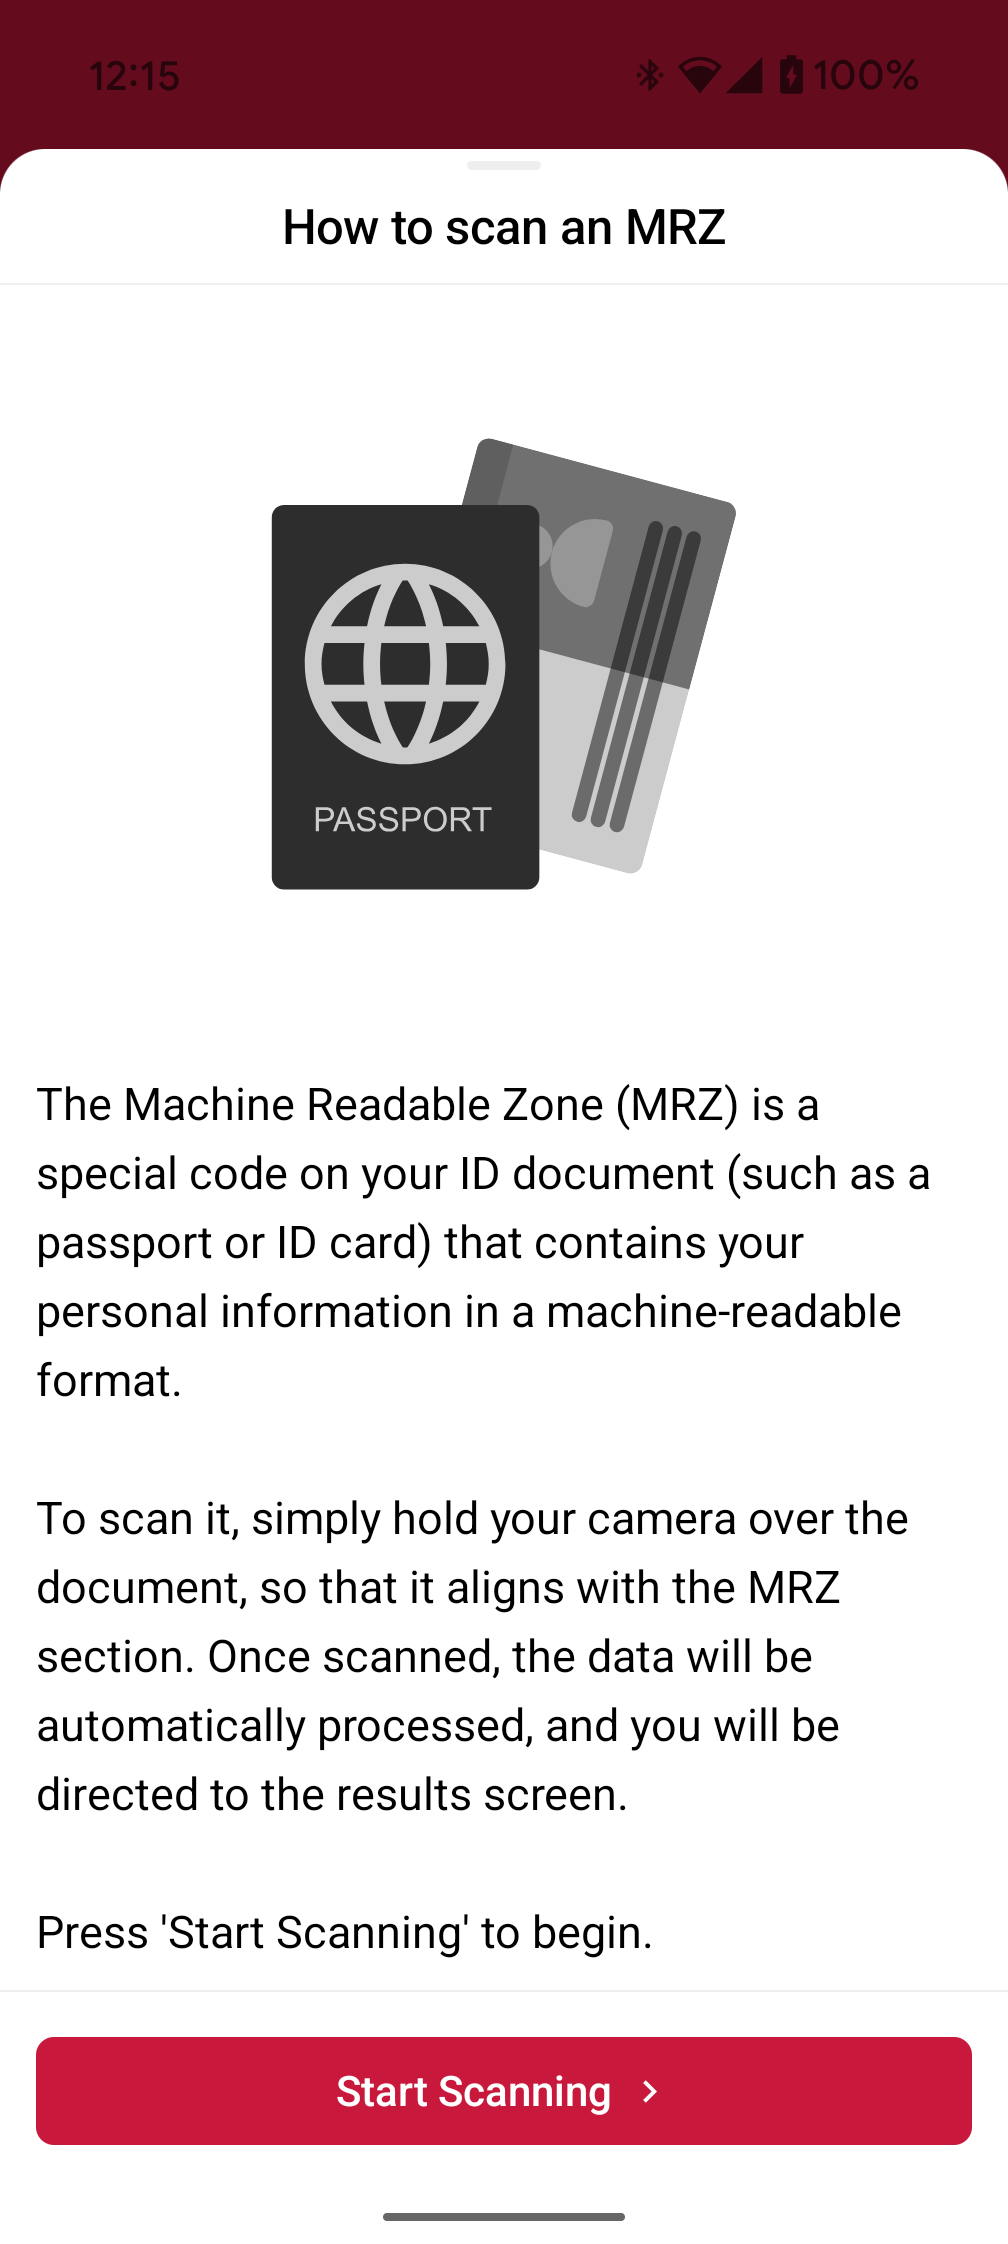
Introduction
The Introduction Screen guides the user by providing an overview on how to use the scanner effectively. You can configure this screen according to your needs, and can also set a custom text and an image that suits your use case.
loading...
User guidance
Text elements like the on-screen user guidance can be adapted in form and color.
loading...
Top bar
You can choose how to display the top bar in your app: hidden, solid or gradient.
![]()
loading...
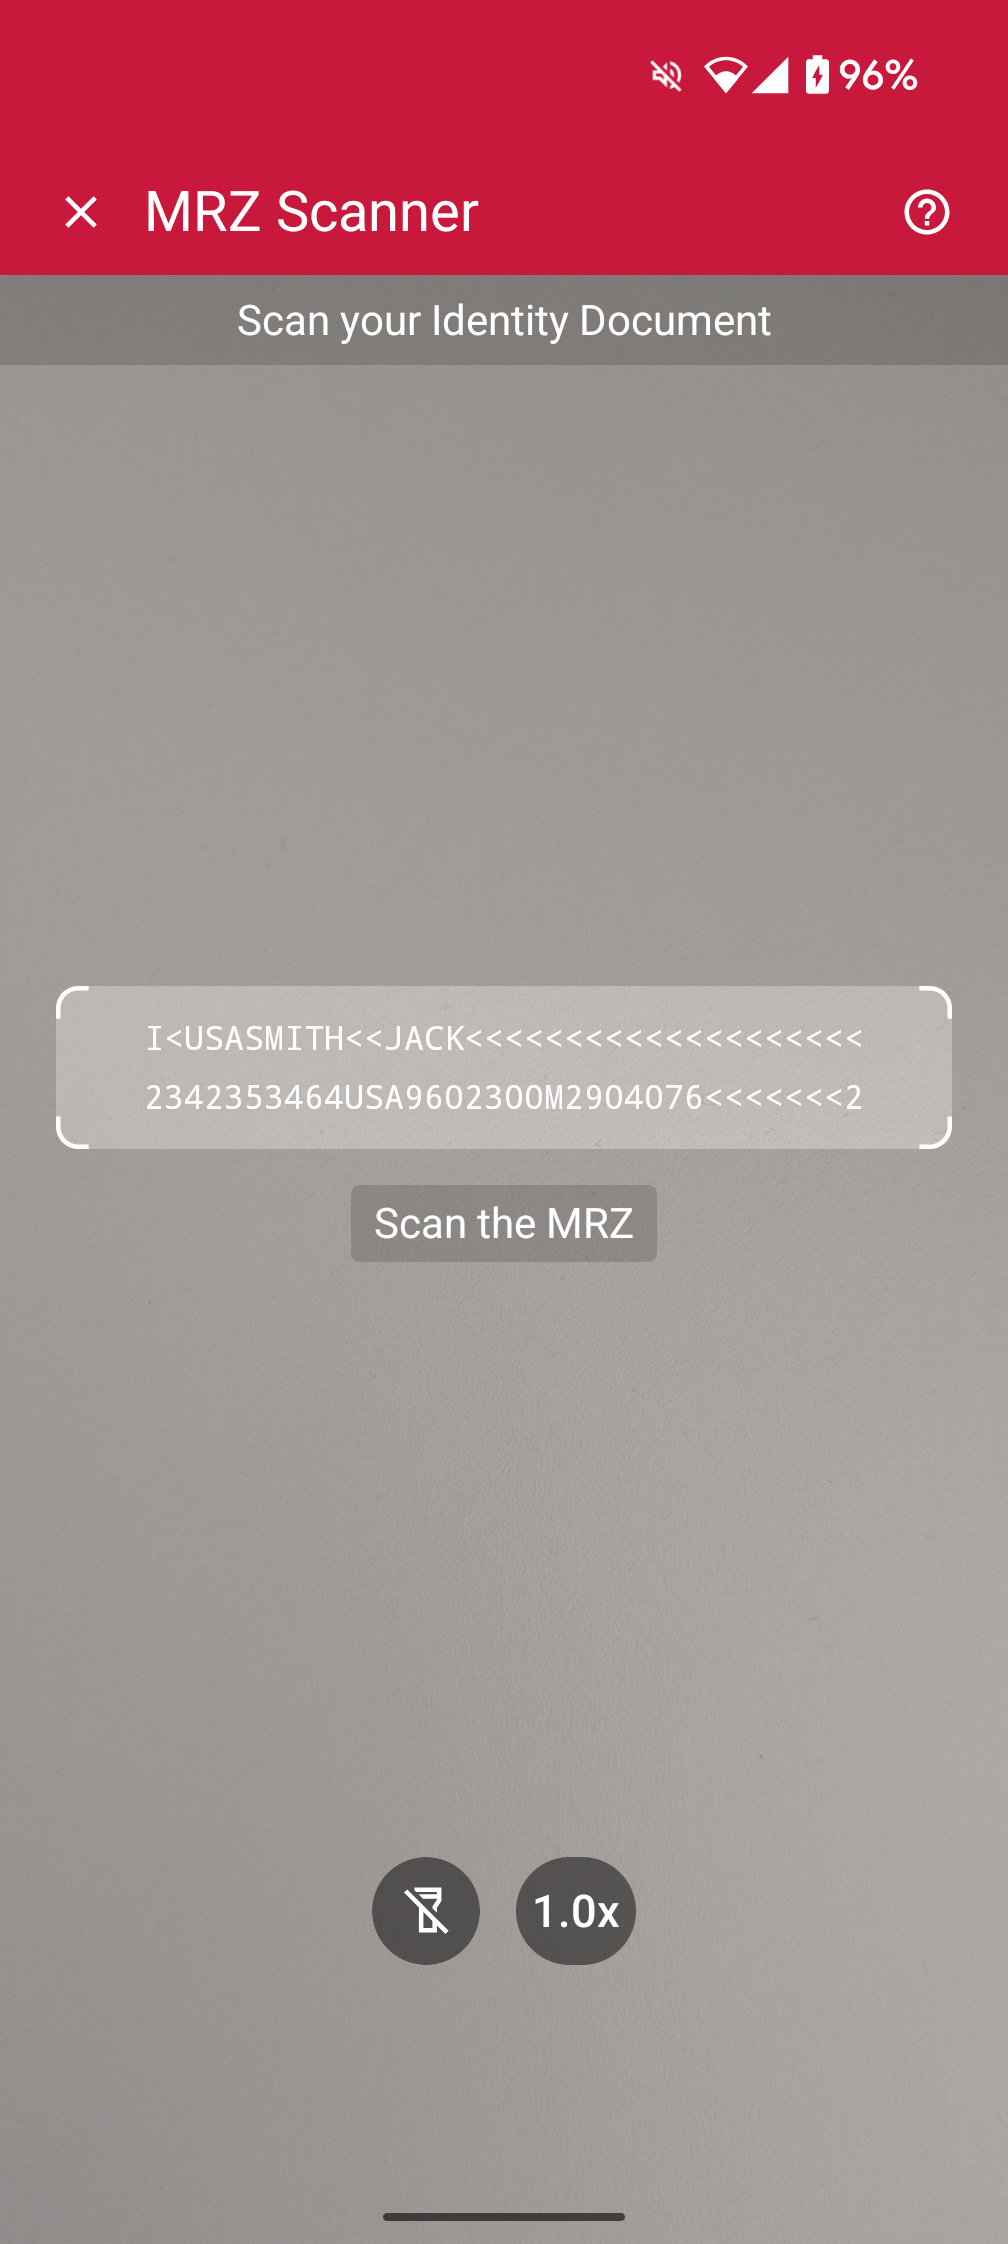
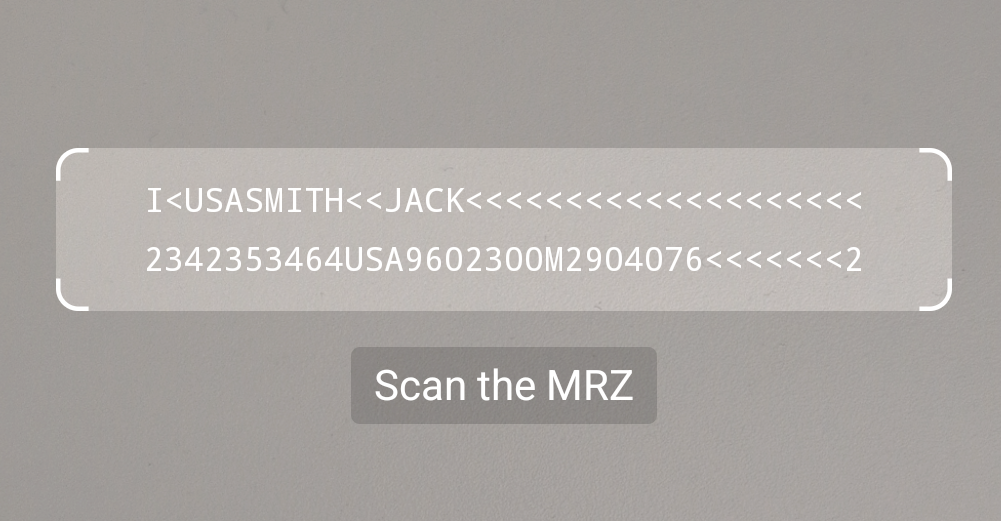
Finder Overlay
You can choose between the two-line and three-line preset for the finder overlay. Each overlay preset has a default text for each line, which can be changed according to your liking.
loading...
Action bar
The zoom and flash buttons are now included out of the box.

loading...
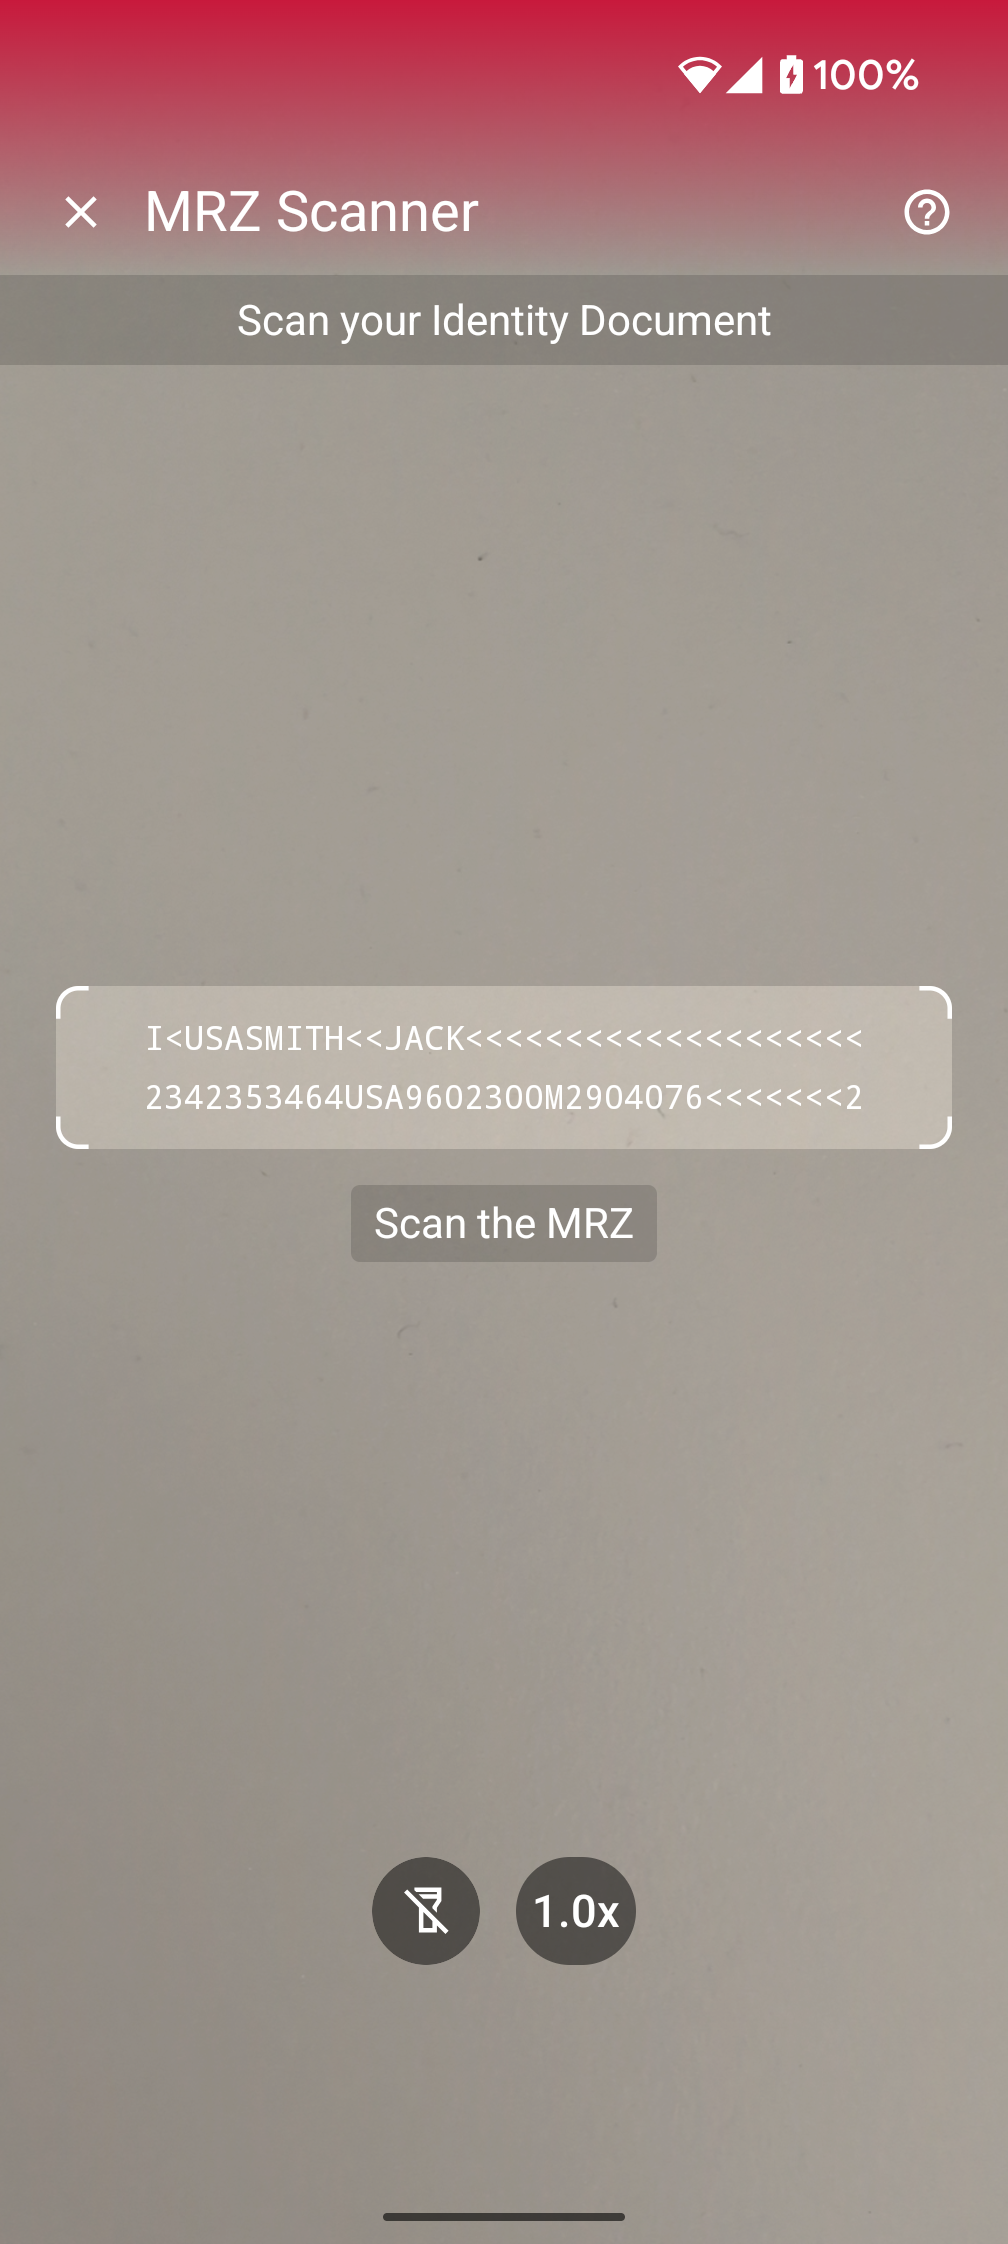
Scanning
The following is an example to configure some of the general and behavioral settings to tailor the overall scanning experience.
loading...
Integration as a Sub Component (Compose)
The RTU UI v.2.0 is also available natively for Jetpack Compose using MrzScannerView. The following example demonstrates how to integrate the RTU UI v.2.0 Jetpack Compose view into a Custom Activity or any other Compose Flow.
loading...
What do you think of this documentation?
What can we do to improve it? Please be as detailed as you like.